 |
|
| Issue #51 • May/June, 1998 |
Every person who is striving for self-reliance should, and most do, plant a garden from which to raise a good portion of their own food. But how many of us really study ways to get the most food out of our money invested? Having spent a lifetime with earnings below the “poverty level,” I certainly have! And here are a few helpful tips for every gardener to ponder on.
Grow only open pollinated varieties
While the popular trend these days has been toward only growing hybrids, this is not a good policy for folks aiming at self sufficiency. First of all, the seed of hybrid vegetables does not grow true, should you save your own seed. You may get what you want, or you may not get taste, productivity, or even appearance. Only open pollinated (or “heirloom” “traditional”) varieties will produce seed which, when saved and planted next year, will give you the same results as the parent plant.
You can study your seed catalogs carefully. Any listed as “Hybrid” or “F1” should be avoided. Get in the habit of saving your own seeds. This simple practice can cut your gardening costs down by 1/4 or 1/2. Seed saving is simple and very satisfying. Many seed catalogs, such as the ones published by Native Seeds/Search and Garden City Seeds, also have extensive information on seed-saving.
An additional reason to raise non-hybrids is that most of the open pollinated varieties taste better. That’s opposite what we have been led to believe…often by seed companies, who, by the way, often hold the rights to certain hybrids they developed and/or sell.
 Author with cukes, four hours away from bread and butter pickles Author with cukes, four hours away from bread and butter pickles |
The good old heirloom varieties taste great. True, you might not be able to ship them 1500 miles in a truck, they might not last 10 weeks in a warehouse, or they might not have thick rinds or skins to prevent bruising during rough handling, but in a home garden, or even a small market garden, who cares? I’d rather have the taste.
And cost? Where many open pollinated vegetable seeds may be purchased very reasonably, the hybrids are now selling for high pricesmany more than $3 a pack where you have to carefully count your 15 or 30 seeds. And when you save your own seeds, you only buy once. The seeds you buy as a seed bank will provide generations of vegetables.
Buy with care
Even with open pollinated seeds, there is a great deal of difference in the cast of the same varieties of seeds. Early in the year, send for several seed catalogs and carefully compare prices.
If you can, get together with gardening friends and relatives, buying seed as a coop venture. Not only can you split larger packets of seed, but you save significantly on the shipping and handling.
Try not to buy seeds off the racks in stores. Here you will usually find those trusty hybrids along with higher prices. You can sometimes find seeds on sale but usually there are few seeds in the pack and you can buy and raise better varieties.
Remember you are developing your own seed bank and need to find great family favorites, not just yellow beans or sweet corn.
Plan carefully
Raise only what you can take care of. This sounds basic and simple, but after 30 some years of gardening, it’s one I still struggle with. You can get more tomatoes out of 12 plants, cared for like babies, than 40 plants left to weeds, insects, and other forms of neglect. If you have “left-over” space in your garden, tuck in a few squash, pumpkins, or plant it to rye or another form of green manure crop.
Assess your weed problem. If you don’t have much of one, consider planting a good portion of your garden in wide rows or beds. Onions, carrots, beets, greens, and others grow well together, shading out all but major weed problems effectively.
I even grow garden peas in a bed rather than a row, picking the vine and all as the majority of peas ripen. Then feeding the vine to the stock, I reuse the bed as a bean patch with the beans planted in rows. Remember that commercial peas are grown in field conditions and mechanically harvested at one swipe. You can do this too, getting more peas per square foot as they support and shade each other as well as choking out any competing weeds.
I do not plant bush beans this way, as the plants are heavier, and the leaves of closely planted beans can end up interfering with pollination. And it is definetly harder to pick beans well when they are crowded. I have found that a spacing between plants of 8 or even 12 inches (depending on variety), and rows 18 to 24 inches apart, yield much better than crowded plantings. It allows complete pollination (beans are largely self-pollinating), plus ease of picking the three or more flushes of bean crops. An additional bonus of uncrowded planting is that if you live in an area where there are venomous snakes, you can see better.
Don’t plant your tall corn where it will soon shade other heat/light-loving plants such as tomatoes. Or don’t plant vine crops, such as cukes, where they will crawl out onto carrot rows or beds. Plan many timesplant once!
Short of garden space? You’d be amazed at how many veggies you can grow in flower beds, tubs, buckets, and other containers or in a very small garden plot. There are many varieties suitable for container growing, from determinate (bush-type) tomatoes, bush cukes, squash, peppers (which like a bit of crowding), and even onions, greens, and eggplant.
Plant vining crops in the lawn (dig out the sod in a circle two feet in diameter) where the grass is poor anyway, and let ’em sprawl. Or plant them in flower beds next to the house, the garage, etc, and trellis them up on old fence wire or string. Tomatoes and cukes don’t climb, but can be trained, tied gently at intervals as the vines grow. I’ve seen folks in apartments grow a huge garden on their roof. They just used recycled containers and a huge imagination.
No room to grow bush beans? Grow pole beans instead, trellising them up on a three-pole tipi or strings on the side of the garage. A few hills of pole beans will provide enough beans for a family to eat, plus a few pints to can as well.
Succession of crops
You can get more bang for the buck out of your garden, especially if you are limited in space, by planting successions of crops. For instance, instead of planting all late bush beans or corn, plant two or more crops in succession, using the same area as the early veggies. I plant a big patch of Venture green bush beans, radishes, lettuce, and other early crops, which mature in less than 50 days. Then when they are about done I quickly till them under when production fades. I plant the same total area into an early sweet corn, such as Black Aztec or Early Golden Bantam.
The beans help put nitrogen into the soil, and tilling keeps weeds to a minimum. If the weather is warm, corn zooms up, usually much exceeding the maturity dates in the catalogs.
The bottom line is that from a patch 30 feet by 10 feet I get late sweet corn and the bonus of beans, greens, and more.
Never leave an area in the garden bare after crops have been harvested. If you don’t need the area, plant it anywayfor seed, to barter, sell, or give to those who need it. Or plant it into a green manure crop to further enrich the soil and discourage weeds.
Plant wisely
Many gardeners always plant all of the packet. Now, who needs 1,500 radishes all at the same time? Nine hundred summer turnips? Fifty zuchinni plants? Not me.
Plant what you truly need. Few families need more than a two foot row of well planted radishes. But keep plant-ing all summer and fall, and you’ll always have nice mild, crisp radishes. You may only need two zuchinni or summer squash plants.
Plant what you need, then carefully close the packet and tape or staple it shut and pack it into a glass jar, sealing it against rodents, insects, and dampness. It’ll keep until next year.
Have enough seed that you never plant all of what you have. This is common sense preparedness. I planted a huge garden this year and nearly all of my early planting was totally consumed by a plague of grasshoppers. With a sigh and a few very dark thoughts, I tilled my garden under, and promptly replanted, with seeds that I had saved.
As the seedlings popped up, I kept them dusted and sprayed with organic insecticides, spread grasshopper spore bait around to give them the “plague,” and harvested so much produce it was all I could to get it put up. Most neighbors planted once using all their seeds, had their gardens destroyed, and promptly gave up. Having the seeds right on hand to replant, and replant again, if necessary, gives one the feeling of preparedness.
Most seeds keep well, for years if kept cool, dry, and in the dark. There are a few exceptions. Onions keep one year, and parsnips two years, but generally your personal seed bank should be treated as carefully as your financial bank.
Good garden care
To get the absolute most out of your garden, for the least money, it must receive good care. Limit the size of your garden to what you can truly handle. Maybe you need to limit the size next year to what really works.If you have a good tiller, great soil, and few weeds, your garden can be larger than if you till by hand, have poor soil, and a huge weed problem.
Your own plants
You can go out to the garden center or the market and buy tomato, pepper, and eggplants, often sold in four packs or six packs for better than two dollars each. But these may not be varieties that will taste good or perform well in your area, and they will most likely be hybrids. You will not be able to “save your own” from their seeds.
Instead, how about shopping those seed catalogs early and choosing some open pollinated traditional and heritage seeds that produce plants that do it alltaste great, perform well under your garden conditions, look pretty, and have the additional benefit of letting you save seeds to grow next year’s plants?
Each packet contains from 30 to 150 seeds in most cases. Enough to start plants for your family and a friend or relative this year, and to keep some for next year.
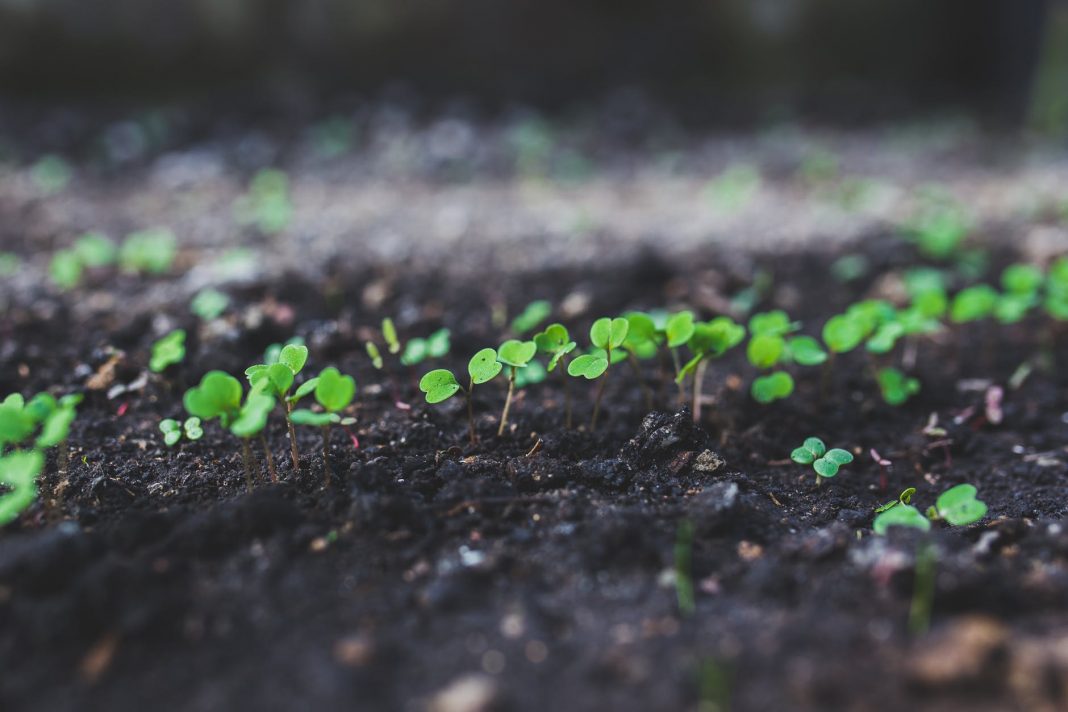
Starting the seeds is easy. Peppers (no matter what the pack says) should be started 12 weeks before you would even begin to think about setting them out, tomatoes 8 to 10 weeks, and the same for eggplant. Using seed starting medium from the nursery, fill the container (an old bread pan, flat, or whatever) and moisten the soil well with warm water, not soggy and certainly not dry. Then carefully place your seeds on top of the medium, keeping at least an inch apart in all directions. Plant a few more than you need, as some may not germinate and some may die. If I want a dozen finished plants, I plant about 20 seeds.
Cover the seeds evenly to about 1/8 inch, then gently sprinkle with hot water until moist, and cover with clear plastic leaving an air space between plastic and soil. Place in a warm place, such as on top of the fridge or on a high shelf. Warm air rises. Germination may take place in as few as three days, so check every day or the seedlings will quickly become too leggy to ever recover. Peppers usually take quite a bit longer, but check, just in case, as I’ve had some take right off.
Keep the medium damp, but never soggy or the seeds will rot. When the seedlings just begin to show up, move the container to a window where there is at least eight hours of strong light (a south window is best, never a north window). If there is not a good window, use a Grow Light or a two-bulb fluorescent shop light, with the plants only two to four inches below the light. As the plants grow, move the light up, keeping the same distance between plant and light. Keep turning those plants in the window, so they don’t grow leaning toward the light, but straight and stocky.
As they get two sets of leaves, it’s time to transplant to an individual container, or rows in a larger flat, keeping three or four inches between plants in all directions. An additional transplant is beneficial when they seem to be growing too large.
When warm weather hits, gradually harden these plants off by moving them outdoors in a protected location out of direct sun and high wind for a few hours in the morning. Then, gradually, leave them out longer, moving them to a less protected area. Be sure they do not dry out during this hardening off period. It’s easy to forget them and have this happen. And watch those cold evenings as you begin to leave them out at night.
Now they’re ready to plant, with protection, such as Walls-O-Water to warm them in case of cold. If you plant them without such protection, wait until all chance of frost is over and plant with some protection against the wind if needed in your area. Here, I plant them in deep basins, both for ease of water collection and to keep the wind off.
In just the same way, I raise my sweet potato starts from mother sweet potatoes, saved from last year’s crop. I insert four toothpicks into the mother about half-way down, then place it in a glass full of water. Setting several on a sunny window ledge in late January. I begin to see sprouts forming above the water line area. Slowly these develop into leaves which grow into the sprouts.
As soon as the nights are dependably frost free, I just pull these sprouts out of the mother and set them into well worked, warm, damp soil on a nice day. Believe it or not, these rootless sprouts soon begin to grow and thrive. No cost sweet potato plants!
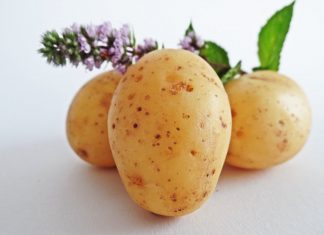
Irish potatoes? Same way. I just save some of the nicest potatoes from the garden for seed for the next year. I save medium sized potatoes and plant the whole thing or half if it is very large.You might buy your first sets to try some different varieties. Then on finding your favorite, just develop your personal seed bank, and never buy seed potatoes again.
Insect control
Other than weeds, which most folks figure out how to control, insects cause the most loss of garden produce. Now all gardens do not have insect problems. But few of us are that lucky, especially if it is a relatively new garden.
Keep a close watch on each row or plant. Lift the leaves and really look. When you see insects, learn what they are. You don’t want to kill a big group of lacewings thinking they are the bad guys, as they are your friends eating harmful insects. Learning about harmful garden insects is a great winter project.
If you just find one or two bad guys, such as potato beetles, for example, just pick and squash ’em. Then watch closely, as more may soon show up. If this is the case and they get thicker, then picking and squashing them will work. Begin a treatment with an effective organic spray or dust. Again, studying books and catalogs will quickly provide you with the needed information. Generally I use such sprays as Bt, which only affects caterpillars which eat sprayed leaves, and rotenone, one of the least toxic organic compounds.
Only spraying once or spraying only when the problem is severe is not cost-effective as you will lose a lot of produce and not stop the insects. You must generally spray or dust after each rain or overhead watering. Often a week or so apart even when the dusting doesn’t wash off.
For corn ear worms begin spraying Bt when the corn is knee high, not tassled out, not even showing ears. Then spray every week thoroughly. Your problem will soon disappear as the corn ear worm moths are not reproduced in cycles. Always be watchful, even years later.
Harvest prudently
We’ve all had ’embattleship sized cucumbers, string beans with golf ball sized beans. Not only is this wasteful (we could have had great pickles and beans), but allowing produce to mature on the vine/bush tells the plant to stop putting out flowers which stops further production. This is why picking the very first beans, even if a bit scarce, is necessary, to insure a heavier harvest, which will also last for a longer period of time. Keeping all cukes picked before maturity will allow a 20-foot row to provide all the salad cukes and all the pickles that an average sized family could possibly eat in a year.
I let some ripen and mature so I can save my own seed. I choose only one or two plants. More for beans, peas, or corn. These are my best plants, ear marked as seed producers. All the others are kept picked, which more than doubles production.
Catalogues:
Garden City Seeds, 778 Highway 93 North, Hamilton, MT 59840 (free catalog)
Native Seeds/SEARCH, 526 N. 4th Ave, Tucson AZ 85705, 1-866.622.5561 toll-free (catalog $1)
Southern Exposure Seed Exchange, P.O. Box 170, Earlysville, VA 22936 (catalog $2 much culture and seed saving information.
Suggested reading:
Seed to Seed: Saving our Vegetable Heritage by Suzanne Ashworth
The New Seed Starter’s Handbook by Nancy Bubell
The Organic Gardener’s Handbook of Natural Insect and Disease Control by Barbara Ellis and Fern Bradley.
Grow open pollinated seeds for self-reliant gardening by Jackie Clay





Rotenone may be safe on plants but do NOT get it near or in water-ways. It is used by biologists to sample lakes/streams/bayous etc. It is EXTREMELY toxic to aquatic species as it binds oxygen absorption membranes in gills. It effectively suffocates the fish and aquatic invertebrates.