By Melissa Souza
On our homestead, we eat yogurt, kombucha (fermented tea), sauerkraut, and kimchi to add probiotics to our diet. These beneficial bacteria promote good digestive health, strengthen the immune system, and help us absorb vitamins from our food. They can also benefit your livestock in the same way.
Why ferment?
When ingested in their natural form, grains, seeds, and legumes preserve their vital proteins, minerals, and fats, making them difficult to absorb nutrition from them. Soaking them reduces the phytic acid and enzyme inhibitors found in all grains, seeds, and legumes, making them more absorbable. After about 48 hours in water, beneficial bacteria begin the process of fermentation by consuming the sugars in the grains and producing lactic acid. The lactic acid makes the environment unsuitable for bad bacteria, leaving behind only beneficial microbes.
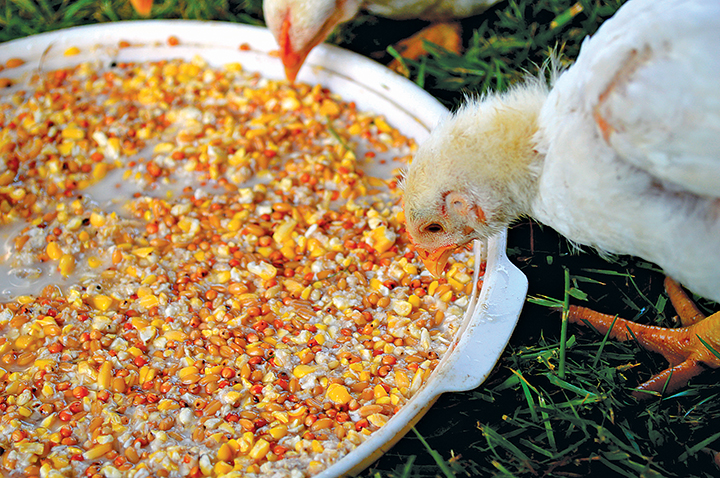
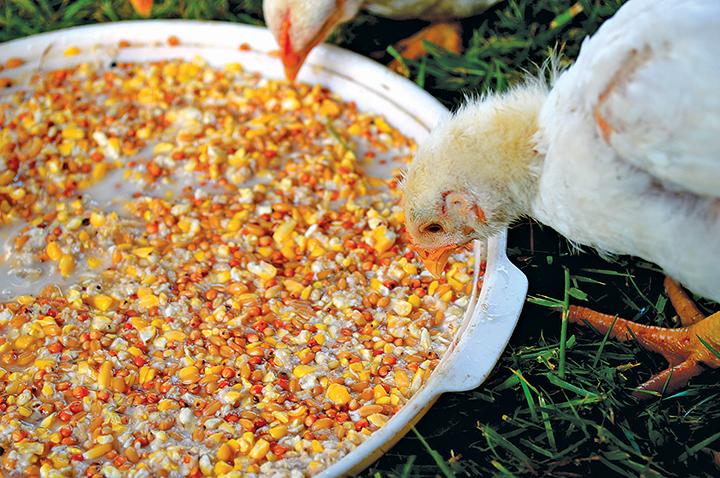
We feed wet mash created by lactic acid fermentation to our chickens. Fermentation improves our feed conversion rate, increases egg weight and shell resistance, increases weight gain for meat birds, and boosts the chickens’ intestinal health by forming a natural barrier to acid-sensitive pathogens like E. coli and Salmonella. Plus, the process of fermenting the grains creates new B vitamins such as folic acid, riboflavin, niacin, and thiamin.
Feeding fermented chicken feed can cut your feed costs as well, because the birds will be able to digest the fermented feed more effectively. For us, a bag of bulk oats or scratch grain is cheaper than a bag of flock raiser or egg layer pellets, because the birds eat half as much fermented food as they do dry pellets.
Our one hesitation with fermenting grains for our birds was the time and effort involved. But after giving it a try, we discovered that it took little time and was well worth it.
The four-pail ferment system
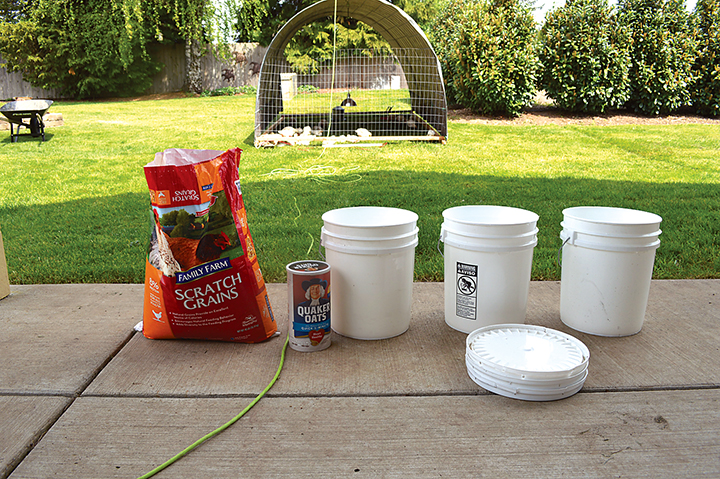
Make sure that any plastic containers you use are BPA-free since the fermentation process can pull chemicals from plastics.
We use five-gallon pails and lids to ferment our chicken feed. We have a Day 1 pail, a Day 2 pail, a Day 3 pail, and a Day 4 pail. The Day 4 pail has small holes in the bottom to drain out the liquid.
Make your mash from whatever grains, seeds, or feed that you use for your chicken feed using non-chlorinated water. City tap water contains chlorine and other additives that are meant to kill off bacteria. That would be bad news for the healthy bacteria needed to start the lacto-fermentation process in your feed.
Mix everything up well, and cover it with water to a few inches above the grains. The feed will soak up the water, so you may need to add more as the grains expand. In order to prevent problems with mold and bad bacteria, it’s important to keep the feed submerged.
Dump your Day 1 pail contents into your Day 2 pail, and restart the process in your Day 1 pail. On the third day, transfer your Day 2 pail contents into your Day 3 pail, your Day 1 pail contents into your Day 2 pail, and start the Day 1 process again.
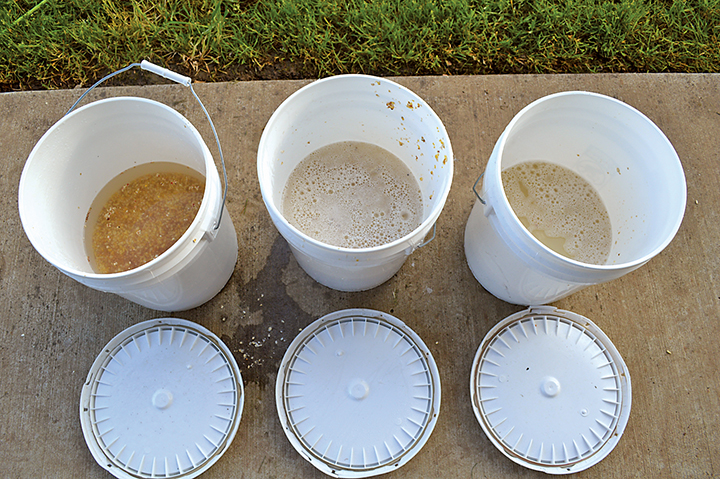
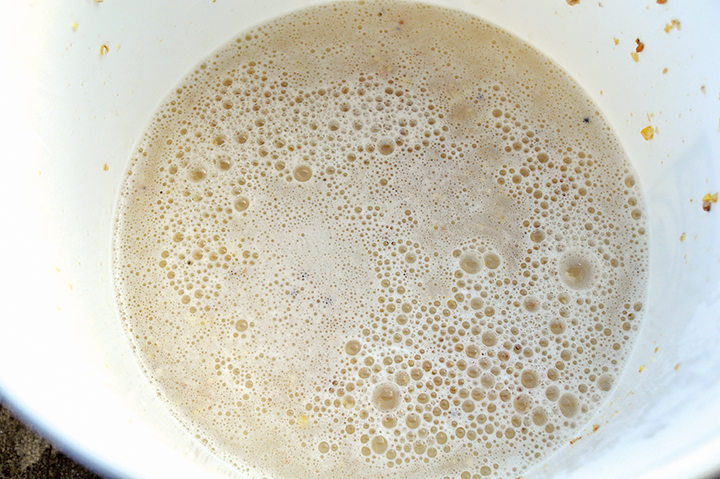
After three days, you will notice a sour (but not foul) odor coming from the mash, and bubbles should start to form on the surface. That is when you know you have achieved lacto-fermentation.
On the fourth day, pour your Day 3 pail into the Day 4 pail with the holes in the bottom to drain. I place a large bowl under the pail to catch the liquid, and use that already-fermented liquid to start my day one pail from that point on. The liquid can be reused unless it starts to smell foul, or develop mold. Allow your Day 4 pail to drain until you are left with your ready-to-feed fermented wet mash.
Transfer all pails into the next day pail, and use the drained Day 4 liquid instead of water in your Day 1 pail.
The single pail ferment
If you have a smaller flock you can also use just one pail with a lid.
Add your grains to your single pail. Mix everything up well, and cover it with non-chlorinated water to a few inches above the grains. Remember, as the grain absorbs water, you might need to add more to keep it covered.
Stir feed and water mixture once a day if using a single pail.
After three days, there will be a sour odor coming from the mash, and bubbles should start to form on the surface. You have achieved lacto-fermentation.
Scoop out what you need to feed your chickens for one day. Make sure to add back into the mash the same amount that you took out. At this point, the liquid and leftover mash have achieved a lacto-ferment, so you can just continue to add more grain to the bucket for a continual single-pail ferment system.
What went wrong?
If your brew produced a foul odor, different from the sour smell of fermentation, or if you notice mold on the surface, then something has gone wrong, and the mixture should be discarded. In most cases, the grains absorbed the water and were no longer submerged. It is important to make sure that there are a few inches of water above the grain level at all times. Oxygen exposure to the grains will reduce lactobacilli in your lacto-fermentation allowing bad bacteria to multiply.
When fully covered, fermented foods will store for a very long time. But if left too long, they will become over-fermented and taste very sour.
Conclusion
This process saves us money and produces healthier birds. Our meat birds eat less, and our layers have better quality eggs. We started fermenting foods for ourselves many years ago, and are happy to now allow our livestock to enjoy the benefits of lacto-fermented foods.







What do you use if you are on city water? Should distilled water be used?
I feed Green Mountain soy-free organic layer pellets to my chickens. Could this be fermented as well? If whole grains are better, do you have a “recipe” that you use? I wouldn’t know which grains to combine or what ratios.
Fascinating subject! I am going to experiment with my flock.
Do you need to keep the grain covered completely with water during all 4 days until drained?