By Charles Sanders
As with most of the other facets of homesteading, composting can be as simple or as elaborate as you wish to make it. One of the easiest ways to compost is to simply stack the yard waste into a single pile. You can toss grass clippings, leaves, and other fine vegetation into a heap and allow them to break down at their own pace. One obvious disadvantage to this method is that the pile can tend to scatter rather easily due to wind, children, and animals.
A much neater and more efficient method of composting makes use of easily-constructed bins that contain the waste material. The methods of constructing composting bins vary as widely as do those persons using them, but here are some designs that work well.
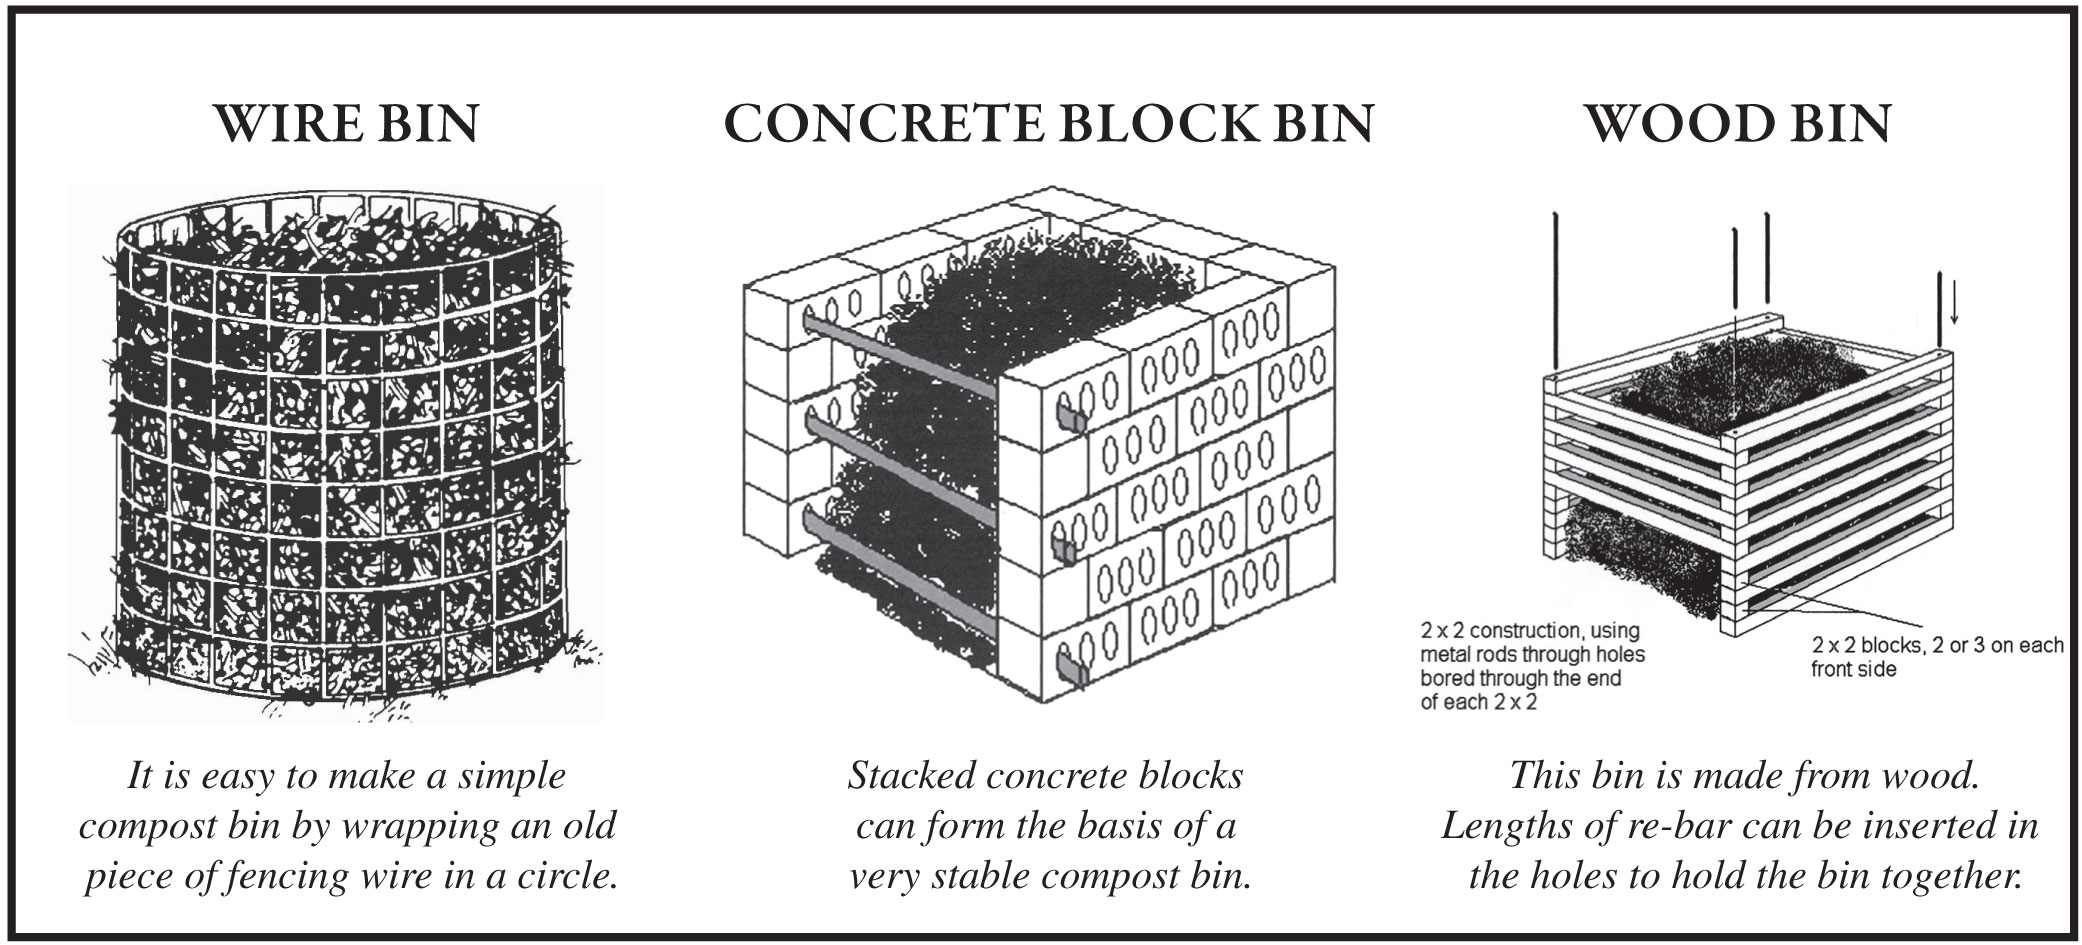
Wire bin
You can easily make a wire bin composter in about five minutes. I merely decided the size hoop that I wanted, measured the appropriate length of wire, and bent the ends to hook over the other end of the length of fencing to form the cylinder — a giant tomato cage of sorts. The loose hooks make it easy to open the bin when turning or using the compost.
This type of bin makes a great place to empty the lawn mower bag as well as a place to dump fall leaves that you might rake up. This type of bin is very portable and easy to construct.
Concrete block bin
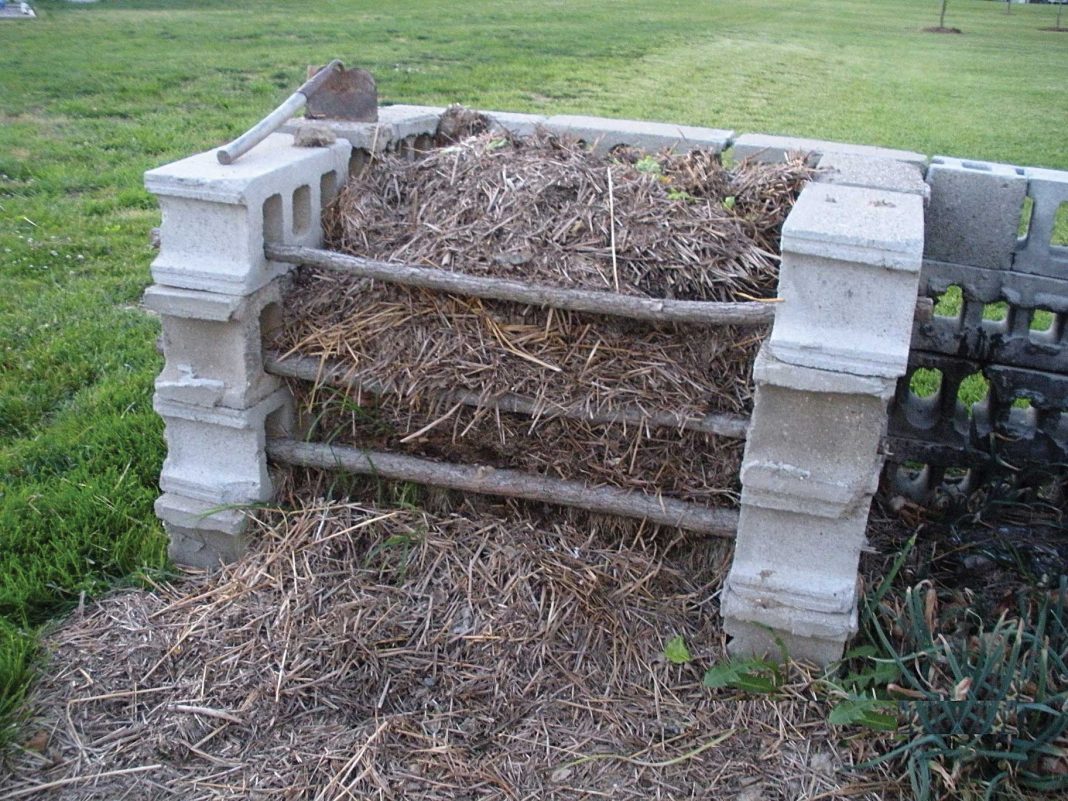
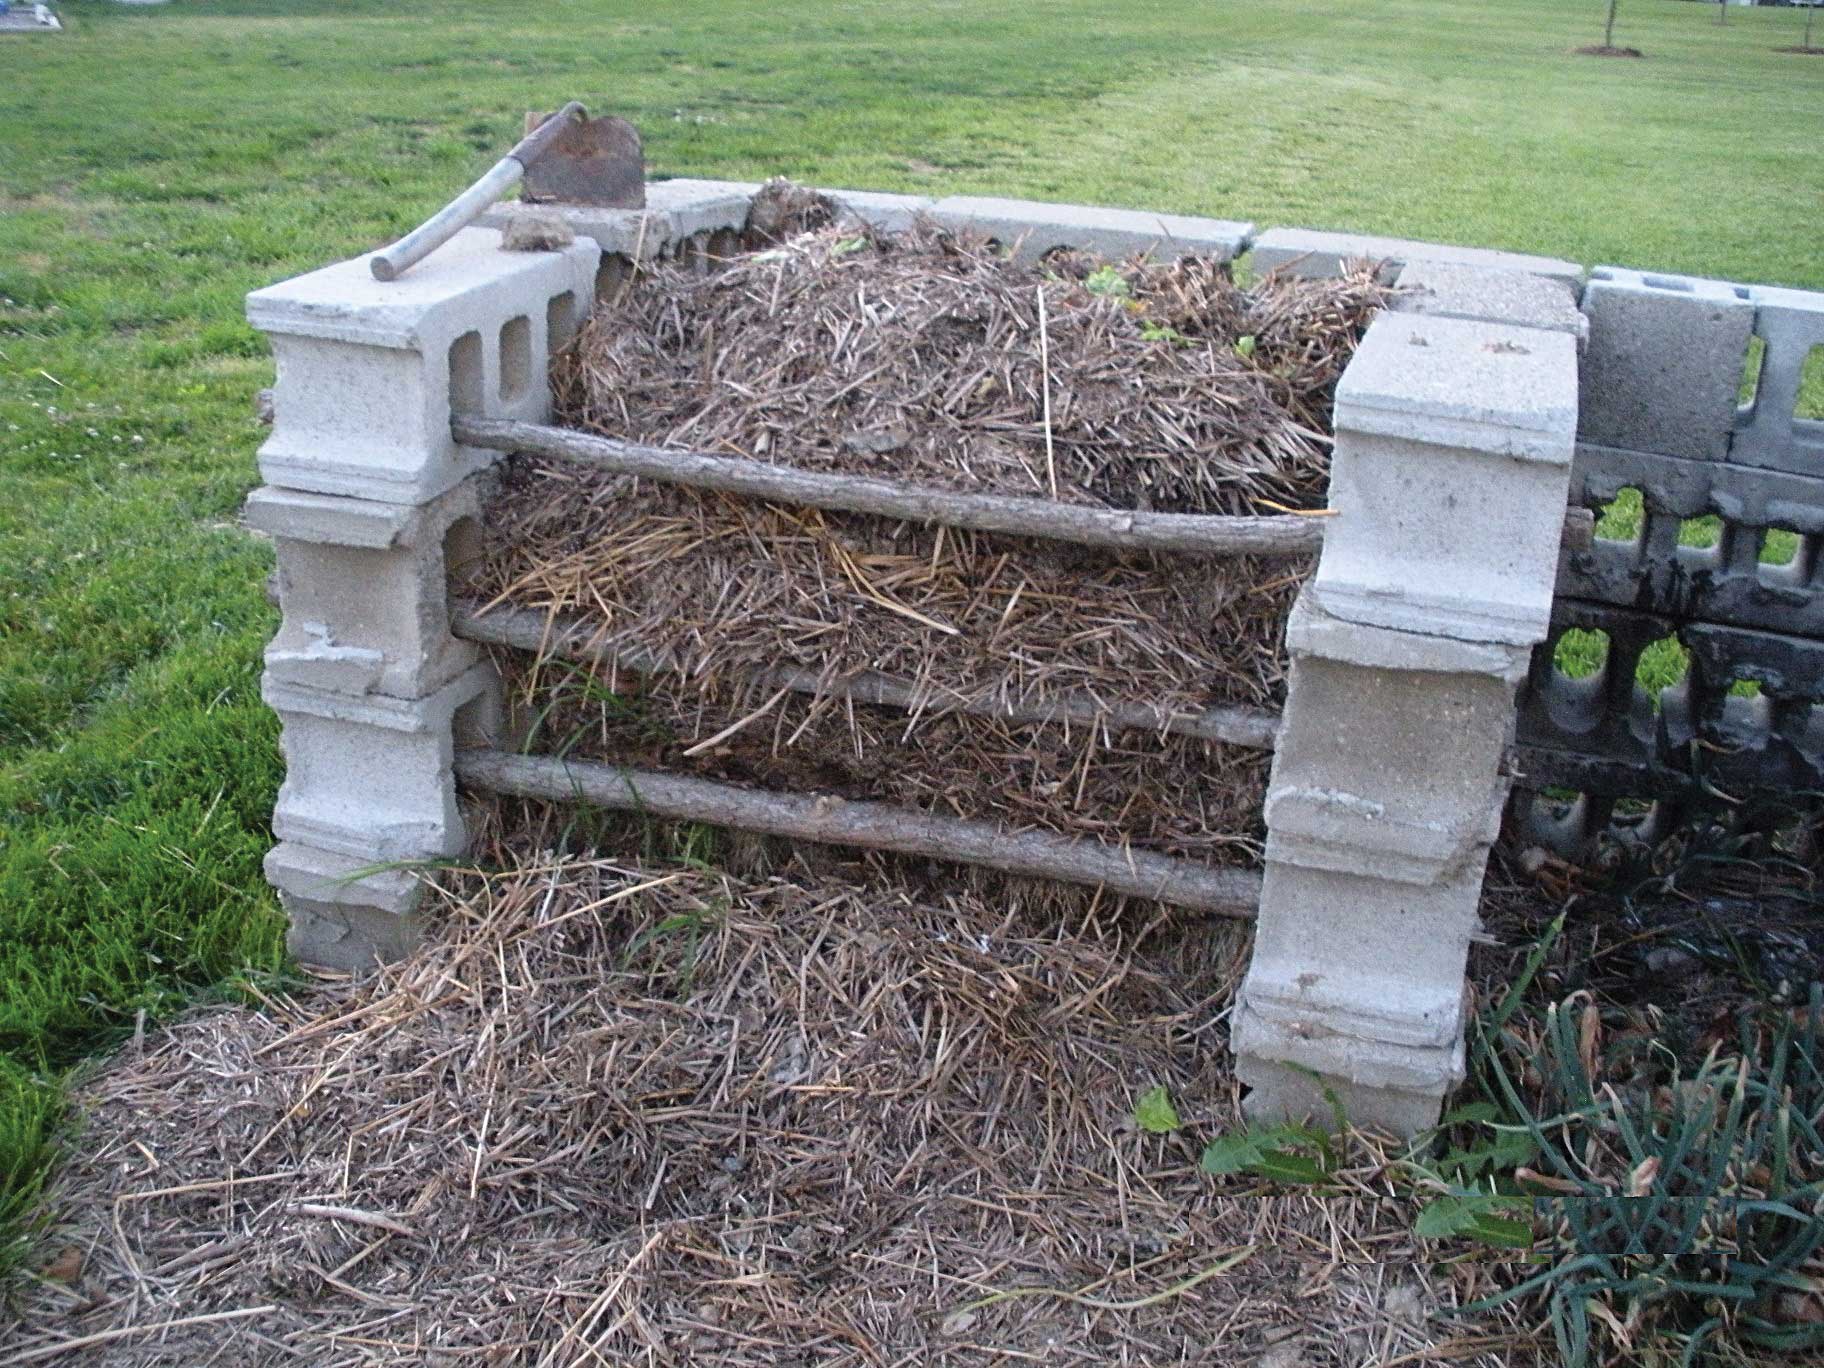
You can make another bin from used concrete blocks, stacked without any mortar, into a three-sided bin. Stack alternating rows (or every row) on their sides to allow for the circulation of air. Placing the blocks in this fashion also permits you to insert poles through the openings near the front to help contain the compost.
Wood bin
A third bin can be made from rot-resistant lumber. Using about a dozen 2x4s, cut and rip the boards until you have a good stack of 2x2s, each 4 feet long. About one inch from the end of each 2×2, bore a ½-inch hole completely through. Next, take four ⅜-inch rods (old electric fence posts with the “fins” removed work well) and use as corners. Place two of the 2x2s parallel to each other on these rods. Place the next two 2x2s over the rods at right angles to the first. Repeat this procedure, alternating the 2x2s until you reach the height desired. One 2×4 will be needed for one course, equaling a little less than 4 inches in height.
Additionally, you can easily gain access to the finished compost in this type of bin by making a few short 2×2 blocks, four to six inches long, with the ½-inch holes bored through them. Pull up the front two rods of the bin and replace the front three or four 2x2s with the spacer blocks. This arrangement will give you access to the finished compost at the bottom of the bin, and make it much easier to remove with a shovel or fork.
Pallet bin
One way to make a good pallet compost bin is to anchor them with ordinary T-posts positioned so that they support the pallets. In a pinch, you can use wooden stakes to keep the pallets upright. As an alternative, the corners can simply be secured together with baling twine or wire.
Build a bin using three (or four) pallets and begin your pile. As the plant material begins to break down and is in need of turning, just add a couple of pallets to one side of the bin and turn the decomposing material into the new second bin. Then, you can refill the first with fresh material. As the second bin “matures” and needs a final turn, add two more pallets and toss the compost into the new bin. Repeat the process by tossing the contents of the first bin into the now-empty second bin, and refill the first. You can keep a steady supply of compost working and available using this method.
Compost tumbler
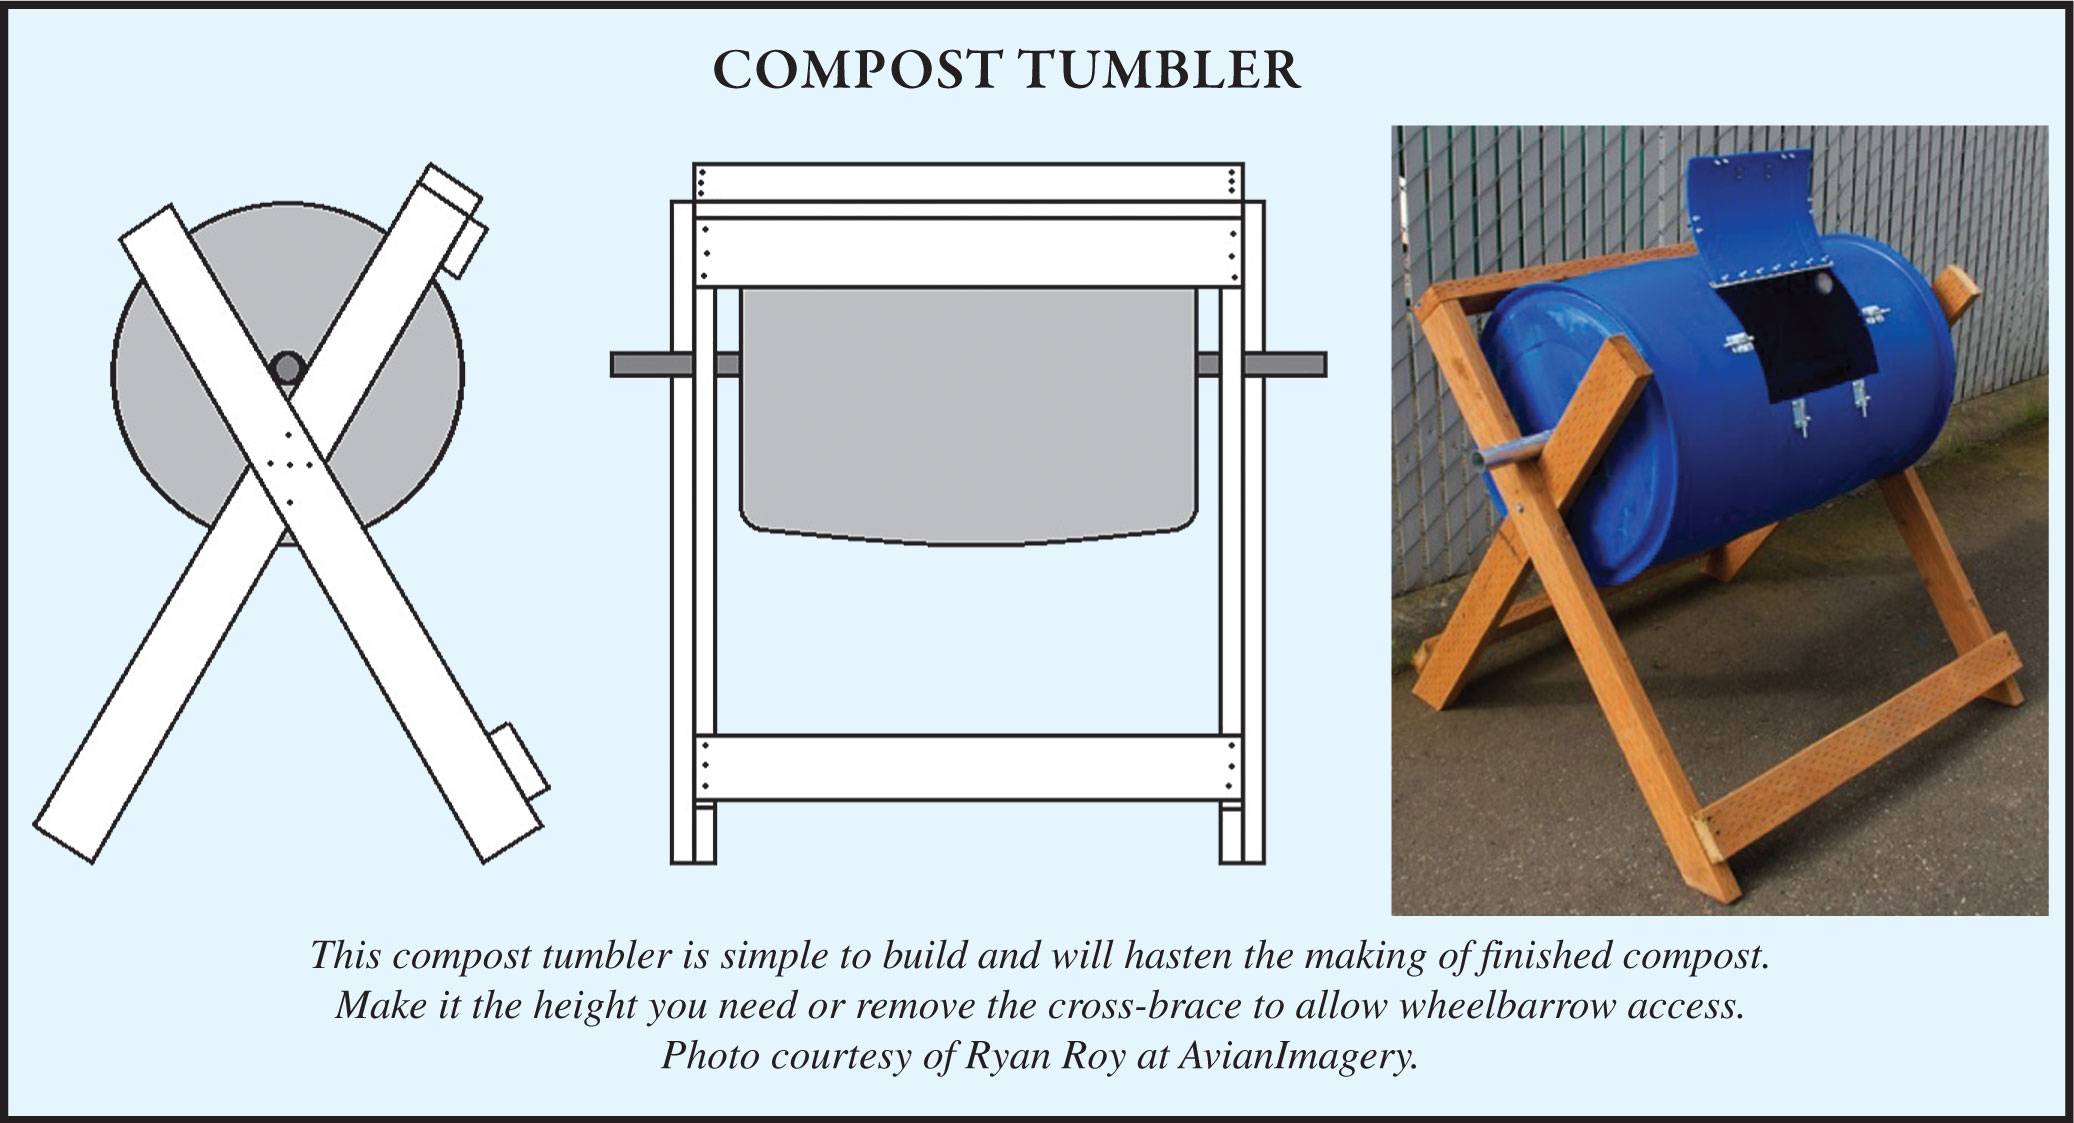
There is another type of composter that might be of use to some of us older folks. It may also be practical for anyone who can’t quite handle the movement and labor required to build a compartmentalized bin, or do the necessary forking of material from one bin to another. The composter is basically a compost tumbler and can be constructed of easily-obtained materials.
First, obtain a barrel for the composter itself. Using a ruler, straightedge, and felt-tipped pen, mark off where you want the door to be. To cut out the door and opening, drill a hole ¼- to ½-inch in each corner of the marked rectangle. Next, with a keyhole saw or electric saber saw, carefully cut the rectangle along the lines you made.
Next, attach the door with hinges onto the drum, using appropriately-sized bolts, nuts, and washers. In the illustration, a long “piano hinge” was used along the door panel’s edge. That will work nicely, or a couple of smaller strap hinges can be used.
I’d recommend using one of the simple sliding latches as seen in the photograph to keep the door shut. All of the hardware is commonly available at a good hardware store.
An axle of sorts will need to be added to the barrel. I recommend using either a galvanized or black iron pipe of about 1 to 1½ inches in diameter. A drum of compost will be pretty heavy so a pipe of that size should support the weight. The length of the pipe can vary, depending on the size of the drum and the frame you build for it, but I suggest cutting it to allow for 6-8 inches beyond the frame on each end.
As seen in the photograph and the accompanying illustration, you need to build a simple frame to support the composter barrel and axle. You can use regular or treated lumber (2x4s should suffice) for the frame. Make it high enough to allow access with a wheelbarrow beneath. Notice that the bottoms of the legs are a bit wider than the diameter. That will add stability.
Building and using a sifter
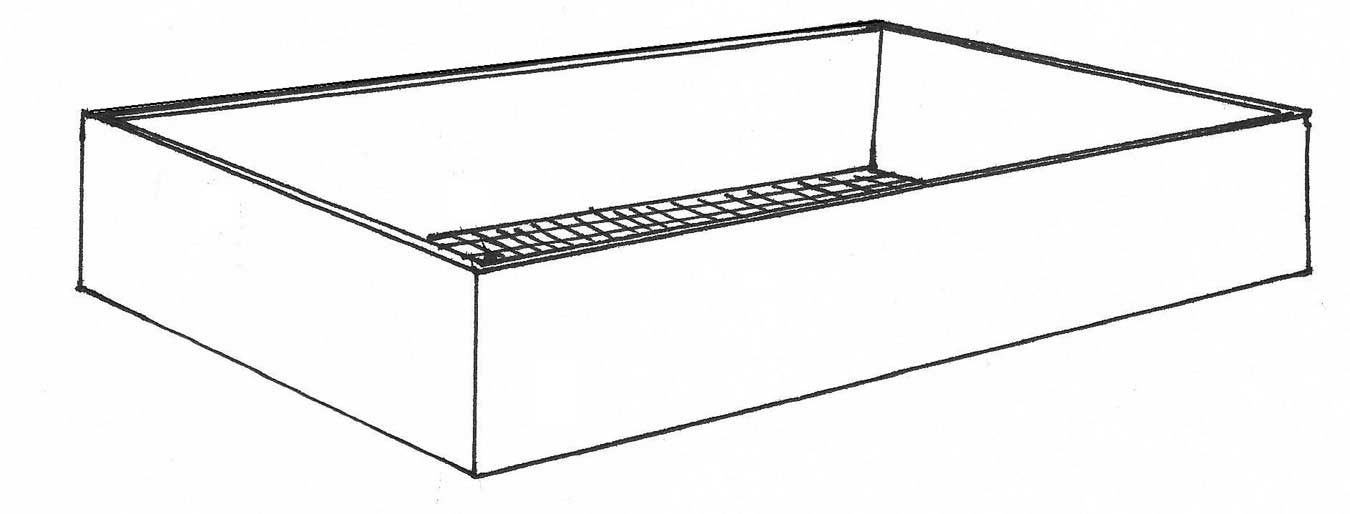
Before I use my compost, I run it through a simple homemade sifter I made from some scrap 1x6s with ½-inch hardware cloth nailed to the bottom. The size is such as to fit nicely over my wheelbarrow.
When using it, I simply toss in a few shovelfuls of compost, give the sifter a good shaking, and the fine compost falls through the wire screen into the wheelbarrow. I use the larger pieces of compost that do not sift through to mulch around shrubs and fruit trees. The fine compost can be used immediately or stored in bags or drums for later use as planting mix, potting soil, mulch, or soil amendment.
Homesteaders and gardeners tend to be a resourceful lot. As I’ve often written, do what you can with what you have, where you are. Use what you have available to create your compost bin and use it to make rich, fertile compost. Your garden will thank you!


