By Bob Van Putten
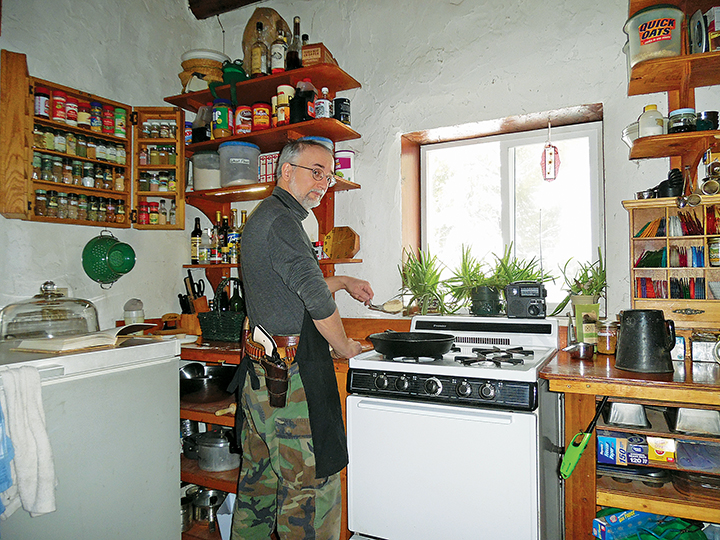
I reckon it takes a lot of gall for me to write about bread because compared to my wife I’ll never be anything but a rank amateur baker. It’s amazing watching her bake bread — She’ll use 42 different ingredients, go through 27 separate steps, and knead dough in a blur of forceful motion that makes the kitchen countertops creak from the strain. She never uses a recipe and every batch is unique. My wife turns out some of the world’s greatest breads and I’m a very lucky man, but when I ask her “What’s in it?” she gets this faraway look and eventually confesses she isn’t really sure. Clearly, this isn’t the kind of bread a beginner should attempt. I actually do a fair amount of cooking myself, both at home and on camping trips, and the barbarian in me instinctively shies away from anything with more than a handful of ingredients, or from a recipe that calls for special equipment or takes too long. So, I thought I’d share some of the recipes I use to make bread.
Why make your own bread?
I bet I’ve already lost the average bachelor. After all, “Why bother?” Bread is available in every store across the land. But being able to feed oneself is a basic survival skill everyone should know at least a little about, and I’m not talking about just opening up a can of beans. Every natural disaster or prolonged power outage empties supermarket shelves, and what if the bottom drops out of the dollar? In the Soviet Union during perestroika, a loaf of bread cost a pile of cash, and nobody had the cash anyway. Then there is the nutrition and taste. We call store-bought bread “fake bread,” and you will too, once you have tried the real thing.
Recipes
Let’s start with some very basic recipes that don’t need an oven to make. One of my brothers lived 37 years in a cabin without an oven, and made do with a three leg dutch oven outside or a frypan inside.
I think I got this first recipe from Backwoods Home Magazine.
North of the border tortillas
1 cup flour
1 cup masa or home-ground corn flour, not cornmeal
1 egg, or equivalent egg powder
1+ cup water.
Simply mix the dry ingredients, then add the egg and water to make a thin batter. Fry a few minutes on each side. These are great at home and have become a camping staple of mine. I pre-mix the dry ingredients, package them in a small bag, and fry them up over a twig fire in a teflon-coated or cast-iron pan with a small amount of cooking oil.
Before folks started buying bread in stores, scones of one type or another used to be pretty common as they are very easy to make and are a good way to use up old milk. Nowadays they are probably a novelty to most folk which is a shame because they are so good!
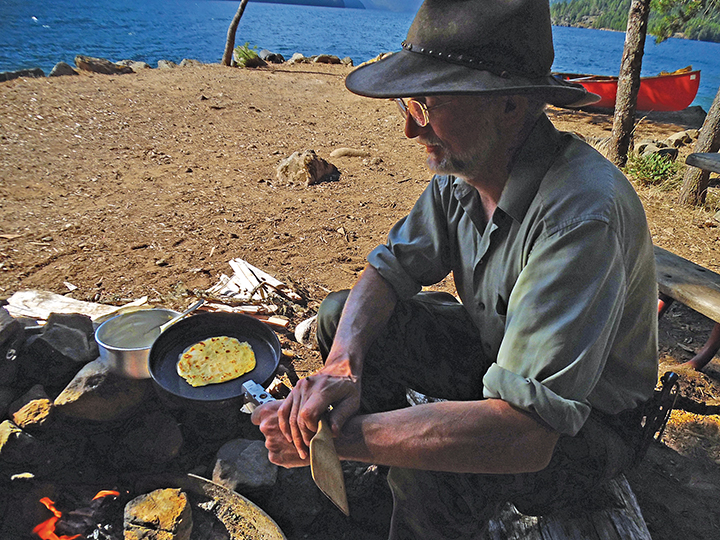
Griddle scones
2 cups flour
1 tsp. cream of tartar
1 tsp. baking soda (or use 2 teaspoons baking powder instead of the tartar and soda)
1/2 tsp. salt
1 tsp. sugar
1 cup buttermilk, sour milk, or sour cream or yogurt mixed with milk
Mix dry ingredients and add enough liquid to make a soft dough. Cut in half and pat the halves into balls. Flatten to ½-inch-thick, cut in quarters, and fry slowly in a heavy, dry pan. A lid over the pan helps.
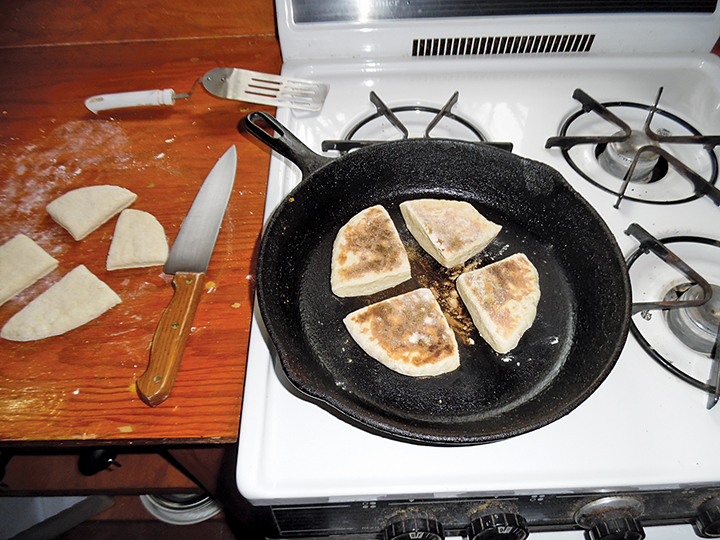
One-two-three biscuits
My wife can make all sorts of fantastic biscuits, but when we need something fast, or maybe out on the trail miles from civilization, I whip out a batch of these. The recipe is easy to memorize and takes only a moment to make.
2 cups flour
3 tsp. baking powder
1/3 cup vegetable oil
2/3 cup milk (you can also use water or reconstituted powdered milk)
This recipe is easy to memorize because it’s “one, two, three” — one cup liquid, two cups flour and three teaspoons of baking powder. Toss two cups flour into a bowl and mix in three teaspoons of baking powder. Now for the liquid. I use a graduated one-cup measuring cup. Pour the oil in first (I use olive oil), then top it off with milk. Pour that into the bowl and mix it up with a spoon.
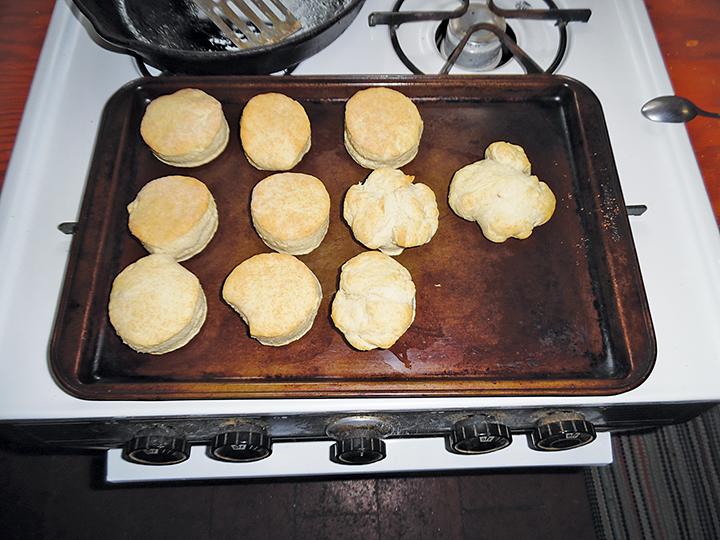
Clean a spot on your countertop, sprinkle it with a little flour, and dump the dough out there. Squish and fold the blob four or five times. This is called “kneading.” If it’s sticky, sprinkle a bit of flour on it, then knead. It only needs to be mashed a few times to compact and firm it up. Next, find a clean jar and use it to roll the blob out flat, until it’s about half an inch thick, and use a cup or glass to cut out rounds (few bachelors own a rolling pin or cookie cutter). Put them on a cookie sheet or fry pan, and bake for about 12 minutes at 400° F. On the trail, you can knead it in the mixing pot, pat the biscuits to shape, and bake in a reflector oven, a Dutch oven, a pan with lid under hot coals (the old Boy Scout type mess kit works well for this), or even just wrapped around a green stick over a fire.
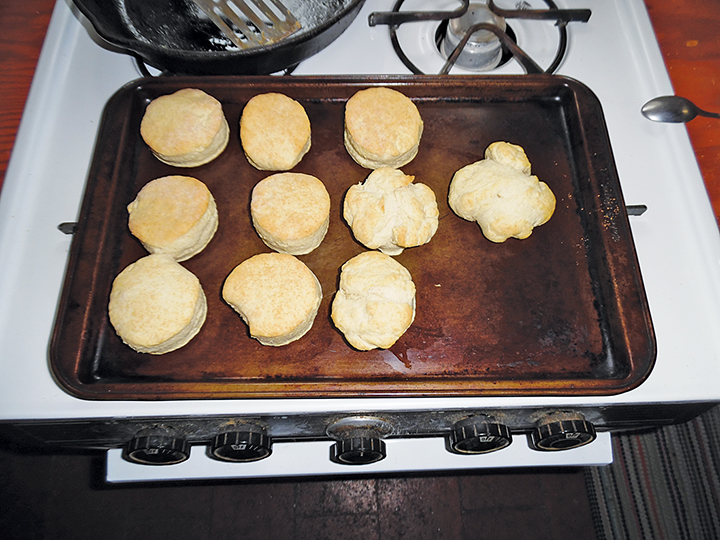
If you can make these recipes, you should be able to handle my recipe for making yeast bread. Bear in mind that bread-making is more art than science, but after a few tries it should become old hat, and you’re forever free of store-bought bread!
Bob’s basic yeast bread
Believe it or not, this is the only bread recipe you’ll ever need. It’s reliable, easy to make, and very versatile. Through extensive experimentation I have found that it can be shaped in loaves to make French bread, baked in pans for sandwich bread, or baked in a frying pan or Dutch oven for a round loaf, or even rolled out for a pizza crust. It’s also delicious!
2 cups warm water
1 Tbsp. sugar
1 heaping Tbsp. yeast (or one and a half packets)
5 1/2 cups flour (approximately)
1 tsp. salt
Put the warm water in a small bowl and dissolve sugar in it. Add yeast and stir. Now leave it alone for a bit. This is called “proofing” the yeast. It should start fermenting in a few minutes and get all bubbly and frothy on top. If it doesn’t, it means the water was boiling hot and you killed the yeast, or it was too cold to wake it up, or the yeast has been sitting on the shelf since your grandma left it there 25 years ago and you need to buy new yeast and try again. Once the yeast is proofed, get a mixing bowl. How big? An old army helmet would do. Put three cups of the flour and the salt in the bowl, then pour in the water/yeast/sugar mix. Stir it up; you should have a thick glop. Mix in another cup of flour with a spoon and you should have sticky dough.
I should mention right now that when making this bread don’t try to add all the flour in at once. Don’t ask why, it’s just an unwritten rule of the Bread Gods, so we add the flour in stages.
Dump the dough out onto a floured surface and scrape the bowl out with a spoon to get it all. Knead in another cup of flour. At first kneading bread is awkward, but after a few loaves you develop your own rhythm. Sprinkle the blob with flour, push down on it with the heels of your hands, fold half of it back upon itself, turn it a quarter of the way around, and squish again. The flour on the countertop will be absorbed into the bread. Sprinkle more on and keep kneading. It will take anywhere from 4 to 10 minutes, but pretty soon you will use up all that last cup of flour. The dough should be smooth, elastic, and not sticky.
Now for another important bread-making secret. There is no such thing as standardization of flour from one brand to another. There are different varieties of wheat, but even the same kind of wheat will have different mineral content. Plus, the humidity of your house will affect how flour behaves. So there is no way I can tell you the exact amount of flour that will work every time. The good news is that it doesn’t matter. If the dough is still sticky, add a bit more flour and keep kneading. If you achieve a good elastic playdough-like dough without using up all 5½ cups of flour, that’s okay too. With a little experience you’ll get a feel for this. My wife doesn’t even bother to measure the flour when she makes bread!
Now we have to let the bread rise. This gives the yeast time to ferment and make tiny bubbles of carbon dioxide which stretches or “leavens” (more bread jargon) the bread. To do this, grease the mixing bowl you just used with some sort of fat. Butter, vegetable oil, bacon fat, non-stick cooking spray, or whatever. I use a paint brush and vegetable shortening. Plop the dough into the bowl, cover it with a cloth, and put it someplace warm. Sometimes I grease the top of the loaf as well, which prevents the surface from drying out and cracking. This is more important if it’s winter, your shanty is drafty, or you are using whole grain flour, all of which makes the dough rise slower.
Let the dough sit until it has doubled in size, which can take anywhere from 30 minutes to two hours. You know it’s done when you poke it good with two fingers and it does not spring back. When you figure it’s sat long enough, deflate the dough in the bowl by pushing your fist into it, and dump it out onto a floured countertop. If it is really sticky, knead in more flour.
Now you have to decide what kind of bread to make.
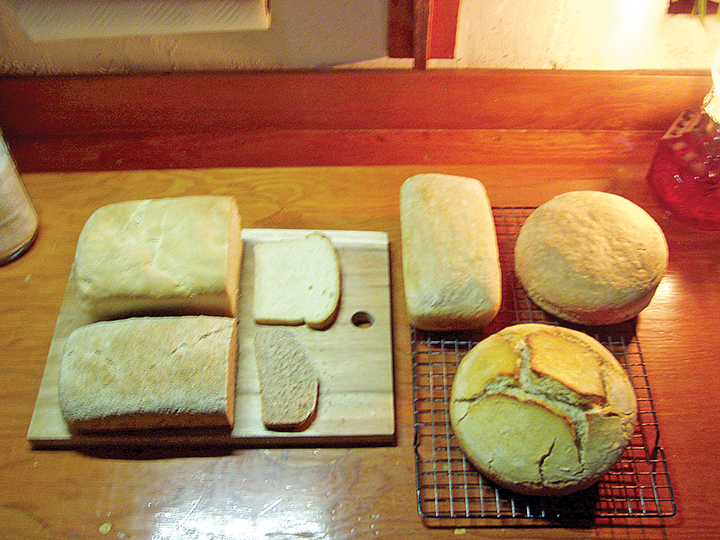
French bread
I mix in 1/2 cup of cracked wheat into the dough, then cut the dough in half and form two long loaves. Make a shallow slice lengthwise down the top of each loaf with a sharp knife. Sprinkle a bit of cornmeal on a cookie sheet, put the loaves on, and bake at 400° F for about 25 minutes. Don’t bother to preheat the oven; it doesn’t need it. The loaves are done when they sound hollow when tapped. Because it only needs to rise once, this is about the fastest kind of yeast bread to make. I can have it on the table in an hour and a half from the word go, and that’s fast for yeast bread.
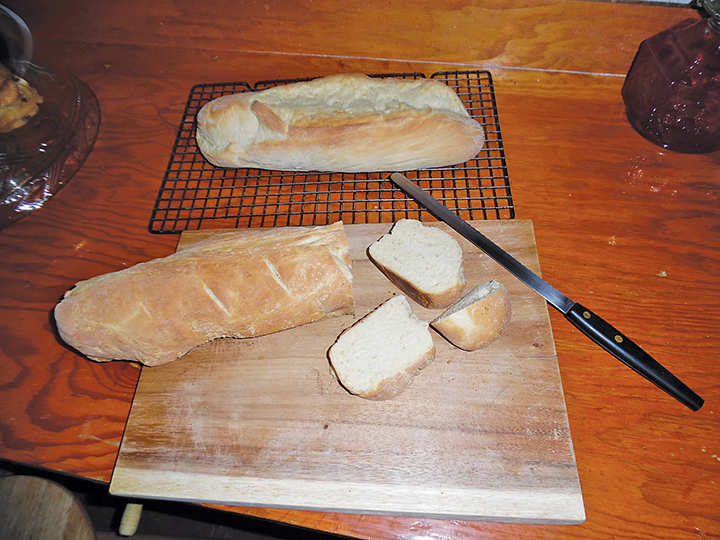
Sandwich bread
This recipe fits one large 9x5x3-inch bread pan or two smaller 8x4x2-inch pans. For this recipe, you must let the dough rise a second time in the pan(s). After the first rising in the bowl, knead the dough for a few minutes, grease the pan(s) with fat of some kind, form the dough into a loaf, drop it into a pan, and smooth it out. Cover the pan with a cloth, put it someplace warm, and let it rise above the rim of the bread pan. You can also use a round pan of some sort like a frypan or Dutch oven, in which case let it rise until doubled in bulk. This second rising generally goes faster than the first did. Preheat the oven and bake about 30 minutes at 400° F. Like all bread, it’s done when it looks done and sounds hollow when tapped.
Pizza crust
After the first rise in the bowl, knead the dough a few minutes and form into a round ball, then roll out. The whole recipe will make a ½-inch-thick crust for a circular 16-inch pizza pan. Grease that pan, fit the dough to it, add your toppings, and bake at 350° F till done. Rolling the dough out to fit the pan perfectly can take a little practice, but don’t worry about what it looks like. It’s the taste that counts, and believe it or not, special dough isn’t needed for pizza.
Nutrition
I couldn’t write about bread without a few words on nutrition. Contrary to popular belief, bread is not the staff of life. At least not modern bread made from white flour. Americans eat more processed white flour than anything else. Pasta, bread, crackers, breakfast cereals, and processed foods of all kinds are made of this flour, yet it is so lacking in nutrition that it hardly qualifies as food at all.
Processed white flour is made from the endosperm of the wheat kernel which is bleached and refined until it is nothing more than starchy glue. The nutritious live germ of the wheat kernel is removed for longer shelf life. For better color and texture, the nutritious bran is removed as well. Store-bought wheat flour isn’t any better; it’s usually just processed white flour with a little bran mixed back in.
Of course, nothing makes a loaf of bread or cookies or pastries like white flour. That’s because it’s pure starchy glue, great for baking with. Eating this stuff is fine once in a while, but it should not form the basis of a diet. Ever wonder why gluten intolerance seems to be on the rise? I bet it’s because so large a part of our diet is made up of nutritionally void starchy glue.

The best bread is made from home-ground whole flour, containing all the germ and bran as well as the endosperm. If you eat bread daily, this is what it should be made from. This is the bread our ancestors lived on, and although it is far superior nutritionally and great tasting, breads made this way will be heavier and flatter. It’s just something to get used to.
Grinding your own flour isn’t very difficult. We have two grinders, an inexpensive Universal 500 and an expensive Danish D525. Both are solid cast-iron and will last a lifetime, but the Universal is a little more work and the grain must be milled twice for fine flour. Buying grain in bulk is good nutrition, good economics, and good survival strategy, too.
When the power goes out and the store shelves are stripped bare, we don’t even notice.


