By Jay Stoler |
|
| Issue #117 • May/June, 2009 |
Fiber cement board siding is one of a number of siding materials that is replacing wood these days in new and remodeled home construction. It is essentially a masonry and wood fiber composite, and is much more durable than its wood and vinly counterparts.
|
Cement board is practically maintenance free, extremely weather-resistent, fireproof, and comes with a 50-year warrantee. The engineered panels will not rot, warp, shrink, melt, or harbor insects, making it a nearly perfect siding material. It is also priced competitively with wood and vinyl.
It also comes in several styles and widths, from “stained” cedar plank-look vertical lapped boards to Victorian-style half-round “fishscale” panels. It comes in smooth and wood-grain textures, and depending on the manufacturer (James Hardie and CertainTeed are two leaders in the industry), you can even buy it already impregnated with a finished color. You can also buy the product pre-primed and paint it yourself. It requires far less paint than wood, and does not expand or contract like wood, which reduces stress on the paint.
For our project, we chose pre-primed lapped boards with a seven-inch reveal. It mimics the look of old-fashioned lapped siding.
Installing fiber cement board siding is a labor-intensive two-person job, and it is common for the labor to exceed the cost of material when professionally installed. A do-it-yourselfer with a good plan can save a pile of money60% of the entire cost, or more.
|
Prepping the walls
On new construction, the walls should be sheathed with half-inch plywood before installing the fiber cement board. On an existing home, the first step is to take off all the trim material around the window and door openings in preparation for the tar paper and flashing.
The tar paper will go over your current siding in most cases, but if you already have some sort of lapped siding (as opposed to flat panel siding), that will have to be removed, too. (A prybar and teenaged boy or two make quick work of this.)
First, place 6-inch wide strips of Moistop or Tyvek, a thin, plastic, weatherproof flashing with a self-adhesive backing, around the
windows and doors. The waterproof flashing will adhere to both the window flange and the wood siding for a completely waterproof seal. It should overlap slightly, with the final piece of flashing at the top of the window or door opening.
Next, nail on the construction felt, starting at the bottom of the wall and working your way up, overlapping each layer by a couple of inches, tucking the tar paper behind the Moistop. The overlap helps shed any moisture away from the house.
After the tar paper and flashing are in place, lay a thick strip of polyurethane caulk around windows and doors, before the fiber cement board goes on. This will securely seal the waterproof flashing to the window or door frame.
Special handling
|
Fiber cement board is prone to breakage until it is firmly attached to the house, so exercise care when handling it. Moving the longer panels requires two people to keep the boards stable.
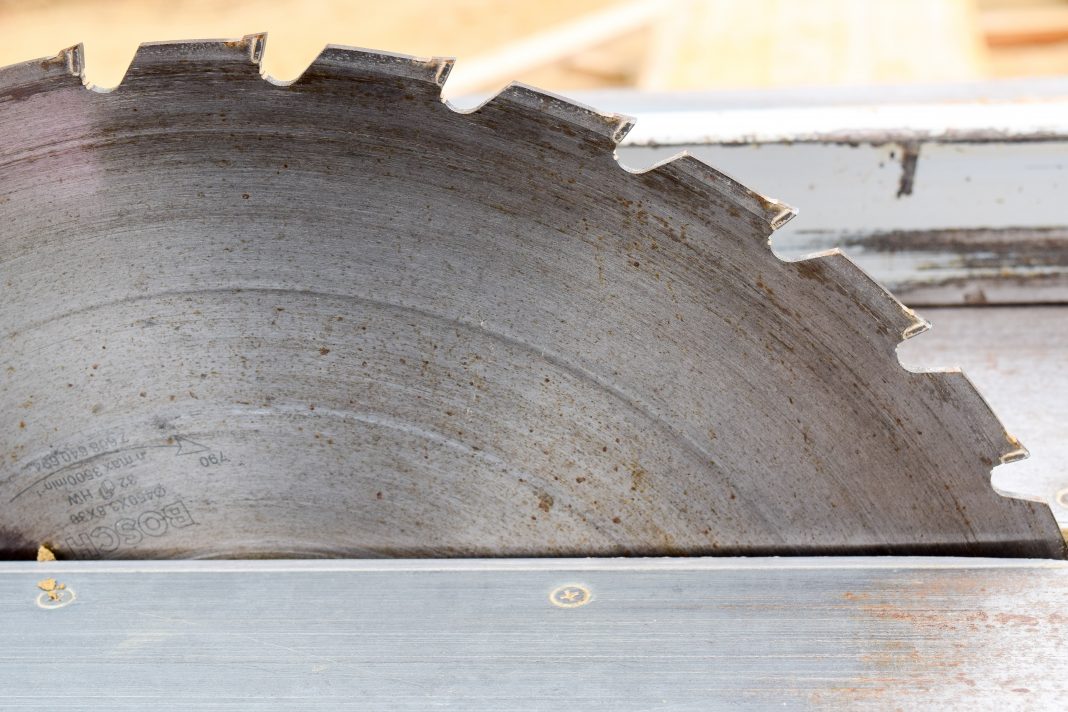
It also will require a special cutting tool, either a diamond saw blade or special fiber cement cutting shears. Cutting with a saw fills the air with tiny fiber cement particles which get into everything, so you’ll need proper eye protection and a dust mask.
We prefer the shears, which are much like metal cutting shears, for health reasons. They will remove an additional quarter inch of material when cut, but still finish the edge smoothly and without the dust and noise of an electric saw. Always cut the fiber cement board from the back side for a clean surface cut.
|
You will want to set up your work area carefully to support the entire length of the board during cutting. Two saw horses with a couple of 2×12 planks on top, or a table, work well, but you can even work right on the ground or flat on a deck.
Installation
Door, window, and inside and outside corner trim is installed before any siding goes up. We used rough-sawn 2″ dimensional cedar lumber for window, door, and outside corners, and 2×2″ boards for the inside corner trim.
Getting those first few planks perfectly level is imperative for a good-looking installation. A free-standing laser-level simplifies this task. You’ll also want to be sure that the lower edge of planks on adjacent walls match up perfectly. Once you have the first course of cement board nailed up, a pair of carpenter’s squares (one on each end of the board) make a perfect spacing toolthey’re exactly seven inches long from lip to tip.
Use two-inch roofing nails to fasten the fiber cement board. Their heads will be hidden under the lap of the next course. For any exposed nails, such as under windows, use two-inch stainless steel nails with small heads.
Always drill pilot holes for the first few nails in each plank, especially on each corner. Starting a nail without a pilot hole is more likely to crack the board. Also, start the nail in its pilot hole while the board is resting flat on a hard surface, then place the board against the wall to finish pounding in the nails. Once the plank is safely attached to the wall with the first couple of nails, it’s safe to start more nails without a pilot. The wall provides the rigidity that helps avoid breakage.
|
Just like the tar paper underlayment, fiber cement board planks are also installed starting from the bottom of the wall. Measure carefully, and cut each plank slightly shorter than the wall width. This gap is important and allows for normal house movementwithout it, any siding may break or warp as your house shifts. There is no need to leave a gap when abutting two pieces of siding mid-wall.
Occasionally you will have to cut planks lengthwise in order to accommodate a window or door. Use a cross-cut saw with a diamond blade, and carefully support the length of the board while you cut. This is one instance where you may experience some breakage, so take your time. Make sure your saw blade is up to speed before you begin your cut, and move your saw slowly.
Wherever the siding meets the trim boards, there should be a slight gap. Fill the gap with polyurethane caulk; it not only anchors the boards, but also forms a waterproof seal.
Soffits and fascia board
|
We used fiber cement board to close in the soffits and cover the fascia of the house. Any rotted fascia boards should be replaced prior to covering. The fiber cement board, although durable, is not structurally adequate to support the eaves on its own.
Manufacturers make a flat plank just for the purpose of enclosing the soffits. It’s important to drill pilot holes in these small pieces, as they’re especially prone to break.
Ensure that every corner has a thin bead of polyurethane caulking to seal out moisture. When the caulk is dry, don’t forget to paint all of the siding and trim. Some brands require the paint, or you forfeit the warrantee.
Fiber cement board is a good choice for new construction and remodeling. It is resistant to extreme weather, from torrential rain to blistering sun. If you can do a lot of the installation labor yourself, it becomes a cost-effective investment for your home that will last for decades.


I used the Hardie Bear Clips with my siding. This allowed for a one person install on the siding. The clips sit on top of the bottom board, you set the board in the clip and nail your siding then when you are all done you snap the plastic off. https://shop.bearcubproducts.com/product.sc?productId=14. I also you a pas-lode nail gun that did not require predrilling holes.