By Dave Strom
Campers, soldiers, and off-roaders are familiar with military-issue Entrenching Tools, commonly called “E-Tools.” They are light, compact, and multipurpose. They can shovel, hoe, chop, pick, and scrape. The only problem is that the handle isn’t long enough to work from a standing position.
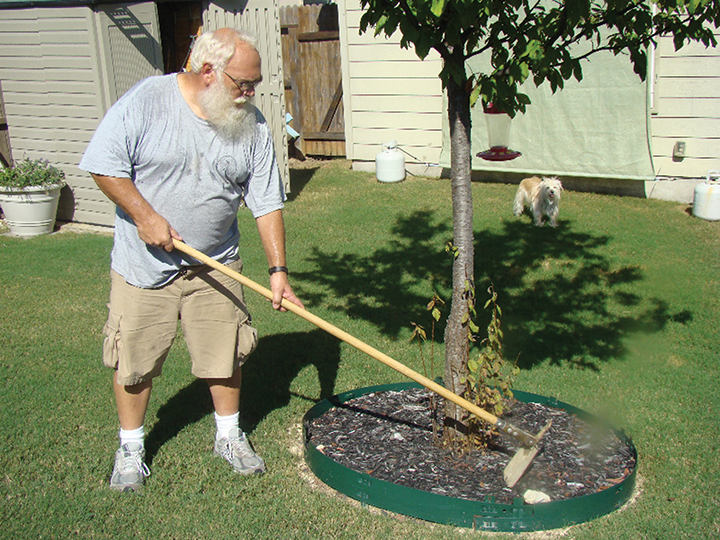
However, by adding a longer handle, the E-Tool can be useful around the home, farm, and garden. This modification occurred to me while I was working to drain some water after a heavy rain. I needed a shovel, standard hoe, and a single-tine cultivator. My E-Tool could handle the work but would require working on my knees for a long time.
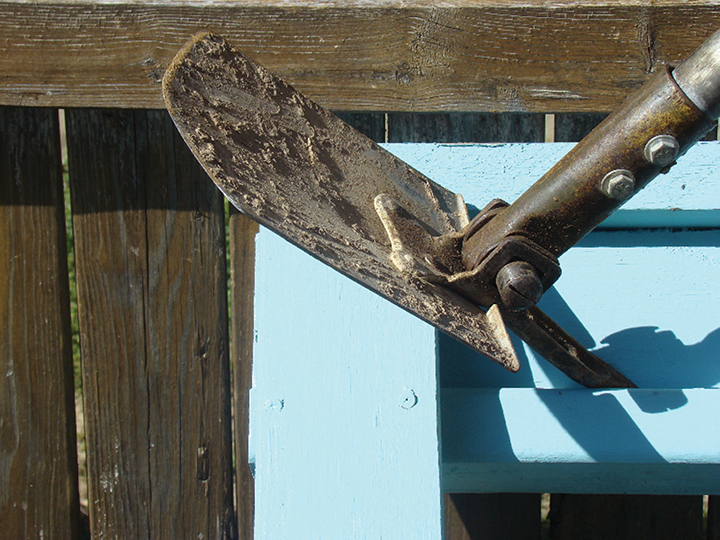
A brief search on the net revealed that the U.S. Forest Service had the same idea some time ago with their Combination Tool, often called “Combi-Tool.” It is a long handle on the old WWII-type E-Tool with both shovel and pick blades. Though well-made, the $100 price tag was too much for me. Adding a long handle to an E-Tool simply could not be that difficult.


Finding the right E-Tool
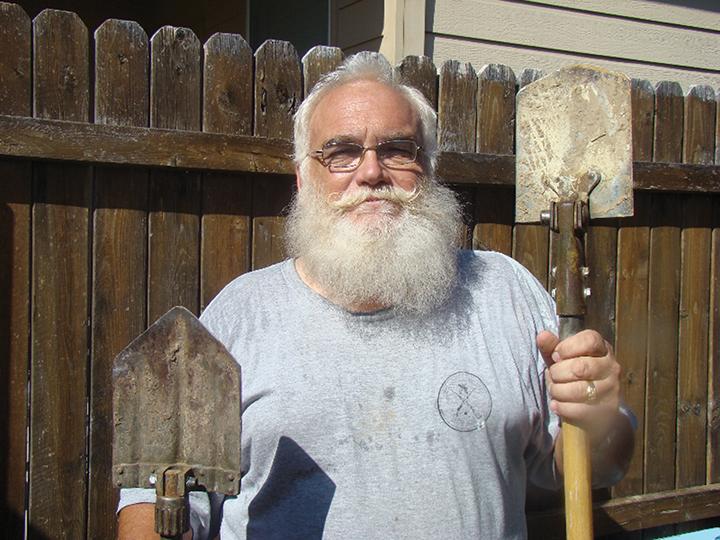
WWII E-Tools have become collectable and pricey. Current issue tri-fold shovels don’t work for this project. Chinese copies are shoddy at best. Thankfully, I had two European surplus versions with wood handles in the garage. One has the shovel and pick, the other just the shovel. These can be bought for about $20 on the surplus market.
Modifying the handle
Find new handles:
I found handles at my local big box hardware store for about $10 each.One is a replacement shovel handle with a curved metal reinforcement that I discarded. The other is longer and for a “bow rake.” It’s much thicker than the average rake handle.
Some store-bought handles will have a pre-drilled hole at the tool end. If so, it is easy enough to plug the hole with a wooden dowel and epoxy it in place.
Remove old handles:
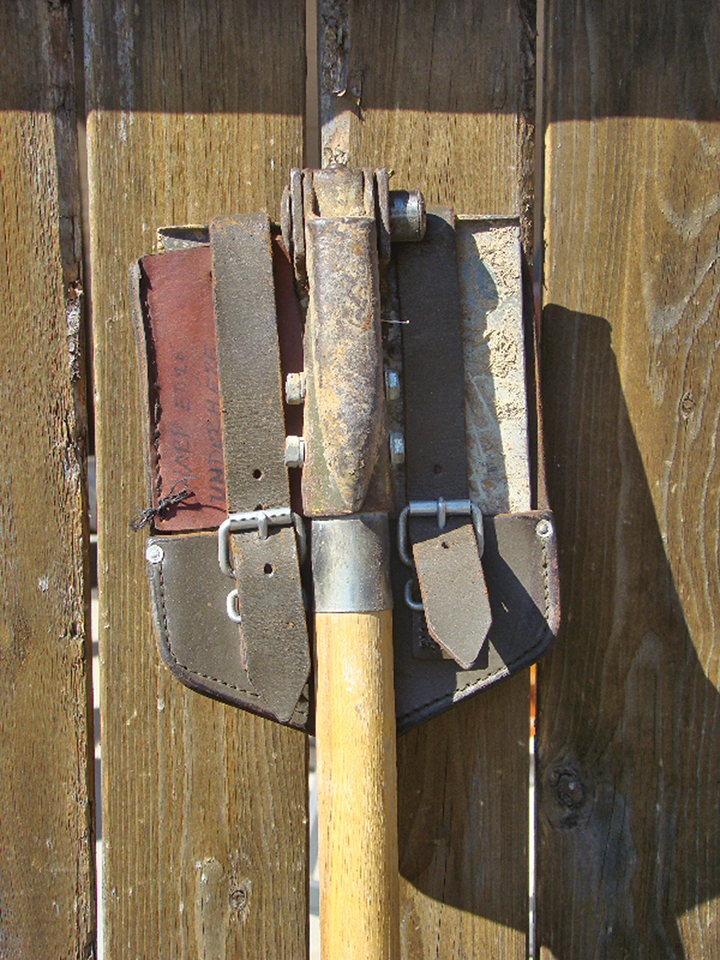
The existing E-Tool handles are riveted in place. Simply grind or file these off and drive out with a punch tool. Now is the time to do any needed repair: remove rust, polish surfaces, sharpen edges, add saw teeth, and paint, if desired. The original E-Tool covers will still fit and should be in place whenever the tool is not in use.
Fit handles:
Use a rasp or spoke shave to fit the handles. Simply drive in the handle lightly, then look at the end grain at the butt of the handle. Rotate until the lines in the grain are 90 degrees to the shovel blade in the open position. This will make your handle last much longer. Now drive it in as far as it will comfortably go. The handle will not likely go to the bottom and will have marks on the handle side. Rasp these marks lightly and reset the handle into the socket (keeping the lines at that same 90 degrees). Repeat until the handle is fully seated and hopefully near 100% contact.
Finish and mount handles:
Before mounting the handle, it’s important to finish it. Most handles come finished with a varnish that I dislike, so I sand it off and use boiled linseed oil straight or mixed 50/50 with pine tar. If you go this route, cover the entire handle — including the end that fits in the socket and the mounting holes. This may take a couple days to dry.

To mount the handle, place fully in the socket. Look at the end grain at the butt of the handle and make sure that the lines are still set 90 degrees to the shovel blade. Next, drill holes through the handle using the holes in the socket as a guide. Simple ¼-inch bolts, and nuts with lock washers should work well. Cut off any excess threads, file smooth, and “stake” the threads by using a punch tool. You are now ready to use your homemade Combi-Tool.


This is fantastic! and so needed for my work. Thanks very much.