| Issue #119 • September/October, 2009 |
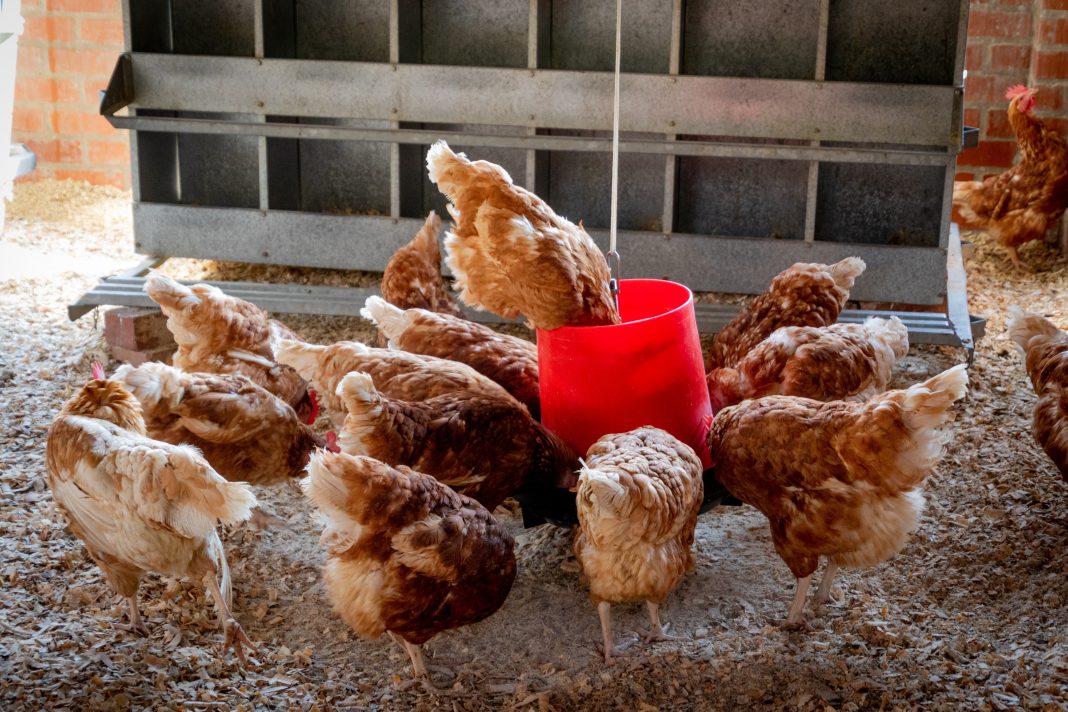
While searching for a large quantity (five pounds or more) feeder for my backyard flock, I kept running into the same problemcost. My last trip to the farm store found two choices, neither less than $30. One of the kids remarked the feeder looked like an upside-down bucket sitting in the dog food bowl so I started thinking, “Hmm…it sure does.”
|
Once I decided to try and make my own version of the commercial feeder, the search began for supplies. I could have made a rather large feeder using one of the 5-gallon buckets sitting in the garage but wanted the first attempt to be a bit smaller in case of failure to minimize any waste or spoilage of feed.
The local Home Depot offered a 2½-half gallon bucket and optional lid in the paint department. I chose the smaller bucket size hoping to find a cheaper bottom portion. My original idea was to use a shallow oil pan that allowed about a 2-inch ring of food to be offered to the chickens. I wanted to avoid anything wider or the birds would want to jump in and scratch the food onto the ground, possibly allowing it to spoil or become trampled and wasted. I still needed to make the feeder large enough for the birds to comfortably eat.
The home improvement store didn’t have the pan size or depth I was looking for, so I tried the local auto parts store. The pans were too deep and were not much cheaper than the original feeder at the farm store. On a whim, I ran into the “dollar store” hoping to find a dish tub or even a round foil pan to experiment with. Knowing I needed to raise the bucket up a bit from the bottom of the dish to allow the feed to flow out, I opted for a plastic relish tray that had four outer dish-type sections plus a center divot. The bucket would sit on the raised dividers in the dish and the feed could trickle into the outer serving areas. By using this style of dish, I did not need to find or build an additional spacer.
Prior to assembly, gather the following supplies: drill, drill bits, bit extension, hole saw bits, masking tape, small bolts or machine screws (4), washers (8), nuts (4), screwdriver, and needle-nose pliers. Choose your drill bit size after selecting your fasteners so you know what diameter you need your assembly holes to be. Your fasteners will need to be about an inch long to allow for the gap caused by the bottom rim of the bucket and space for the washers.
To build the feeder, center the bucket on the bottom dish and use some masking tape to hold in place. Turn the whole setup upside down and drill holes through the bucket and dish, near the center and along the ridge line in the serving dish. Use a drill bit just large enough to allow the fasteners to pass through, as the ridges on the dish are narrow. Do not yet fasten the bucket to the dish. Turn the taped-together assembly right-side up and note where you want to make the larger holes for the feed to pour through. These holes should be centered over the outer dished section of the lower tray. Use an extension with your drill bit and carefully make small pilot holes centered in the future location of the larger feed holes. If you don’t have an extension, try an ice pick or awl to gently poke some holes instead. Drill slowly and not too deeply or you will end up with holes in the feed tray.
Remove the tape, separate the two pieces, and turn the bucket upside down. Use a hole saw, with your pilot holes as a guide, to drill 1-inch holes that will be above the partitioned sections of the dish. I recommend doing this at a medium drill speed to avoid cracking the plastic and/or having the plastic heat up and melt into the teeth on the hole saw bit and gum up your tools. After cutting the holes, you may want to clean up any bits of plastic around the hole with a knife. Once these larger holes are made, turn the bucket back over and attach the bottom pan to the bucket using the small holes drilled earlier. I used some small and relatively slender machine screws with washers to keep the heads from pulling through and tightened them with washers and nuts on the bottom side of the pan. While tightening the screws with your screwdriver, use the needle-nose pliers to reach up into the spaces on the bottom of the dish and hold the nuts. Be sure not to overtighten the screws or the plastic may crack. The pliers give enough grip on the nuts to appropriately tighten things without going overboard.
Once the two parts are attached, turn the assembly right-side up and fill the bucket with feed. Snap on the lid and set in a weather-protected area for your chickens to enjoy. They will be able to peck at the food without pulling it all out and making a mess. I chose to leave the handle on the bucket for easy carrying and to give me the option of changing to a hanging feeder should I decide to try that later.
The diameter of the bottom of the bucket used in this feeder is 8¾ inches and the diameter of the tray is 12 inches, giving the chickens a 1-5/8-inch deep ring of feed available in the tray. During the initial use of the feeder, the birds had no problems eating from that size feeder. This feeder design could probably be built to a smaller scale and used as a hanging feeder for backyard songbirds. The edge of the tray would double as a perch for finches, chickadees, and other small birds.
The total cost of this project was less than five dollars. I paid $2.47 for the bucket, 79¢ for the lid, and $1 for the tray. The cost of the hardware was not factored into the price as I had the screws, nuts, and washers amongst all the other bolts, nails, etc., that I keep on hand, but if those also need to be purchased, the overall cost would still be low compared to buying a commercially-constructed feeder. The whole project only took about twenty minutes to complete.










I’m going to use to feed cats!!
Great idea, but has the same problem commercial feeders have, which is waste. When feed is open like this, birds knock a lot of feed on the ground when they peck at it. The only way I’ve found to prevent that is to make a feeder out of a rectangular storage bin. Cut holes high on the sides, fill with feed, and put the lid on. Chickens have to stick their heads inside the bin to get the food, which prevents them from knocking it out on the ground.
Great idea!!! Could also use this same idea for a bird feeder!!!!
I made a waterer using a five gallon bucket and a new rubber three or four inch deep oil pan!
Drill a single one or two inch hole just above where the lid snaps on the bucket! About two inches up from the rim!
Fill bucket with water, snuggly snap on the lid, and put the bucket into the oil pan top down. Once water reaches and covers the hole, the water stops flowing!
This is a great idea! I have all those supplies already on hand and I’m going to try making one myself. Thanks!