 |
|
| Issue #70 • July/August, 2001 |
The natural beauty of a stone wall has been romanticized in poem and picture for hundreds of years. There is a soothing permanence that can be seen in a well-built stone wall. I have built a couple of simple stone walls over the years and thought I’d share what I have learned about the process of building and working with stone.
Our area is very rocky, and a few folks make pretty decent money just “harvesting” and selling fieldstone. They work up and down the streams and creeks in the area, hauling load after load of heavy stone out in old pickup trucks. The “crick rock,” as it is often called, is sold by the ton to a local dealer who then sells it all over the state and region. Most of it eventually ends up as a part of fireplace mantles in high-dollar homes, veneer on exterior walls, lining walkways, and so on.
|
Recently, we had a planting bed that needed to be rebuilt. The bed had initially been made of old railroad crossties, but over the years the wooden pieces had finally begun to do some serious rotting. I decided to replace the wood with a fieldstone wall, made of stone from right around home.
Once I had gathered the stone at the construction site, I decided that I would have to cut or split a few of the pieces to make the puzzle fit together. Cutting stone versus splitting stone can perhaps best be compared to cutting wood versus splitting wood. When cutting, you are going across the grain; when splitting, you are going with the grain.
Cutting or splitting a stone will give you a piece that will fit better into a given spot. It will also, and not unimportantly, give you a stone that is much easier to handle. I’ll admit, I haven’t tried this on Rocky Mountain granite or Vermont marble, but the method works really well on good old southern Indiana sandstone. I used a common hand sledgehammer and an old hatchet that I had in the toolshed. I used the hatchet as a sort of wedge, struck by the hand sledge to create breaks in the stone where I wanted themapproximately. Oh yes, always use some good eye protection when cutting or splitting stone.
|
Let’s get started. Pick out a nice sized rock and roll it to where you can work on it. First, look at the stone. Size it up. Walk around it, turn it over and look at the way the structure “flows.” Many stones have a sort of grain that runs along their length. I guess it is the result of the eons of compression of the material that eventually become the stone. Pick out a good line that goes along with the shape of stone you need. You may have to look over a few rocks to get the one needed for a particular spot. Don’t worry, you will use the misfits later. I’ve found that nearly every stone ends up in a spot that seemed made just for it.
Once you have picked out the stone, be sure it is on a flat, solid surface. Cutting a stone is done in baby steps. That is to say, using the small sledge and the hatchet, start at one side of the rock and first lightly score a line along the cut you intend to make. Next, place the hatchet near one end of the line and begin solidly tapping it with the hammer. Go back and forth along the scored line, moving from end to end, all along the stone. Keep it up. Eventually, you will worry the stone to pieces. Keep tapping, all along the line. Soon, you will begin to see a hairline crack develop and feel the hatchet stick as it begins to wedge into the forming crack.
The way I figure, it works like this: The light, but solid taps of the hammer on the hatchet send structure-crumbling shock waves through the stone, beginning at the point of contact. By using the light taps of the hammer, you are in more control of the eventual fissure and break than if you really pound away on the stone.
Try to resist the temptation to start whacking harder on the hammer. You will only end up with a jagged break going somewhere other than where you wanted it. Trust me on this. In fact, it’s a good idea to have a few practice stones to mess up, but I believe you’ll be surprised at how easy this method works. Note too that the structure of the stones themselves may differ. Even in the same general area, a different stone can look, feel, and work up differently.
|
Take a look at the photographs below. In the one, you can see the relatively clean cut, with no flaking. It’s a nice break with two usable pieces. The other photo shows a decent break, but it is jagged on the end. You can also see some shards of stone and some flaking. All of these pieces were quite usable and found a place in the wall, but they do illustrate the differences in breaks that can result.
These stones can be split just about as easily as they can be cut, perhaps even more easily. If you turn one of these rocks up on their sides, you can usually see the flow or “grain” along the length of the rock. To split such a stone, just locate the point where you wish to begin and start tap, tap, tapping along the grain, just as you did when cutting the stone. Soon, you will see the hairline crack begin to form and soon the stone will cleave into two pieces, much like a split piece of firewood.
I chose to put the wall together without using any mortar. This method is referred to as drystacking.
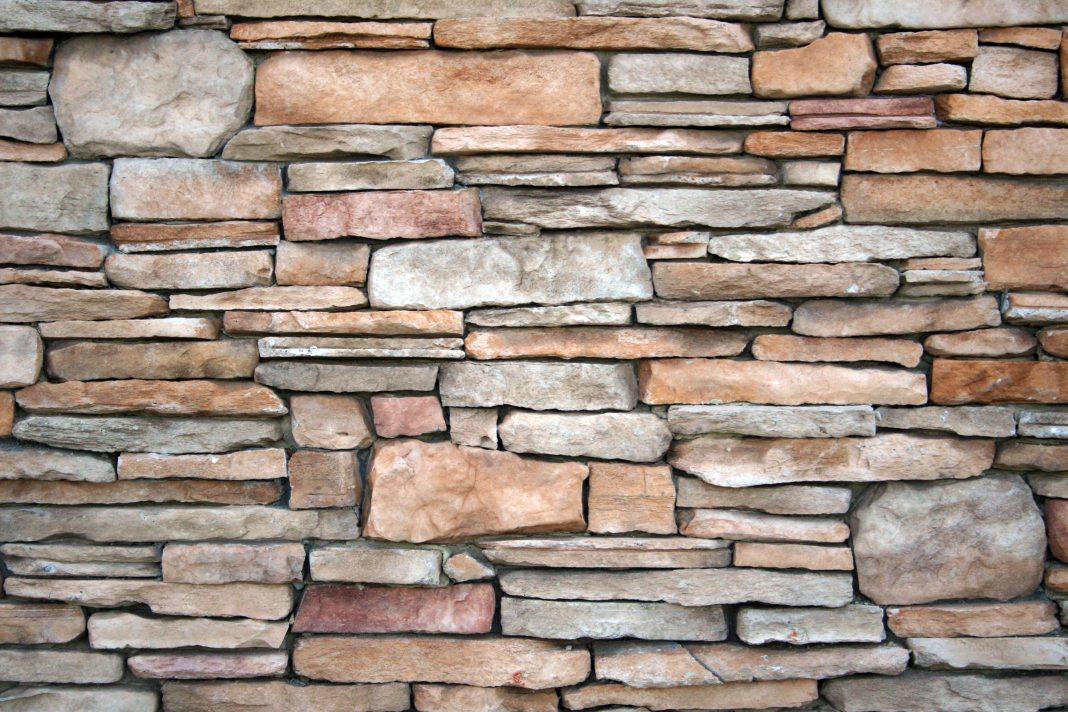
Now, when it comes to drystacking the wall, I have found a few simple things to watch for. First, lay a course of stone as level as you can. It will make the rest of the wall much easier to construct if the foundation is level. Make these stones as large and as uniform as you can. Next, stagger the joints of the stones as much as possible. As you can see in the photograph on the opposite page, I have staggered the stones to give almost a laid-brick look. This simply ties everything together better and will result in a sturdier and longer lasting wall. Use rocks as large as you can handle. Since gravity and friction hold a drystacked wall together, larger stones will simply stay in place better than smaller ones. The smaller stones can be used to fill gaps or provide some leveling.
I hope you enjoy working with stone. Building with materials right off the home place can be especially satisfying. Building something that lasts is just as satisfying.


