| Issue #122 • March/April, 2010 |
The dollar garden is simple in concept: buy as many seeds as you can for one dollar and harvest as much food as possible from the plants you grow. You see, sometime last year my mother, Susan, read something somewhere that claimed a tomato cost some incredible amount to grow on your own. Momwhose plan to build a house out of firewood worked out just finemade it her mission to grow as much as she could on as small a budget possible.
|
Mom currently resides on a nice piece of central Pennsylvania acreage which allows her to plant large amounts of just about anything; she remembers all too well, however, the days when she lived in town (“when I got my water from the city and my eggs from the grocery store”). To make her results easily duplicated by anyone with a small to moderate amount of yard space, she limited our growing area to a six by ten foot plot.
Ever the purist, she made sure that the dollar garden utilized none of the compost from her existing pile, none of the straw in the barn, and no sprays, fertilizer, soil additives, or posts that were already in her possession. She did, however, have me go out and buy a few posts and some rabbit fence to “keep the critters out.” As this was not a recurring expense, we figured this fencing was as fair an item to use as a shovel. Aside from the fence and the dollar’s worth of seeds, every material that was used to create this garden was a by-product of something else and therefore free.
Starting the seeds
|
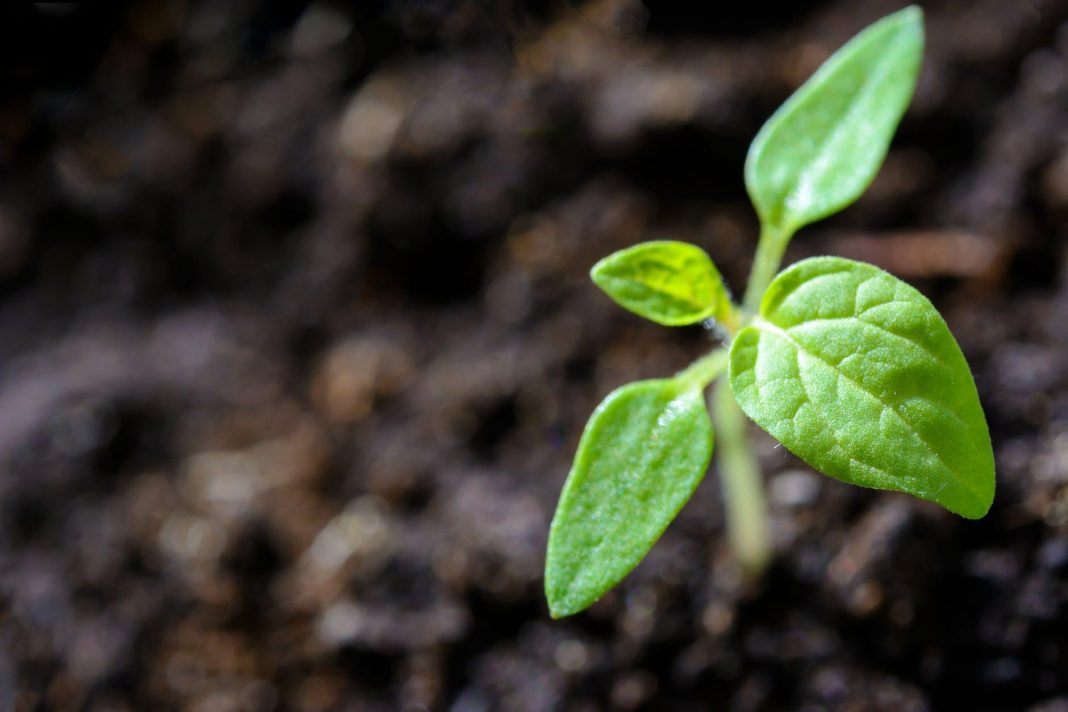
We lucked out when it came to seeds. Having expected to pay a whopping 20 cents per seed packet, Mom found a seed sale at the local Dollar Tree where selected seed packets were offered at 10 cents each. She chose broccoli, beets, two kinds of tomatoes, cantaloupe, lettuce, squash, turnips, basil, and some marigolds. One of the keys to this garden was to plant for the season; as the basil, beets, cantaloupes, and squash were particularly able to bear cold temperatures, she focused on these first. The marigolds were also in the ground early, as in addition to their good looks they deter certain plant-nibbling rodents. While not placed in the ground until later, the tomatoes, broccoli, and lettuce were planted at the same time indoors in their own containers to be transplanted into the garden later. The remaining seeds were reserved to be planted after the first batch of plants was harvested.
Mom utilized halved plastic milk cartons, used Styrofoam cups, and folded newspaper filled with loose, unaltered topsoil to start her more delicate seeds. By keeping them inside at night, she avoided some of the biggest threats to little plants: animals, frost, and wind. By placing them outdoors every day and watering them by hand every other day, she avoided some of the most expensive threats to gardeners in general: grow lights and irrigation systems.
Preparing the soil
Soil preparation began well before warm weather hit. Last autumn we gathered fall leaves and spread them about six inches thick on the spot we planned to plant in the spring; the leaves inhibit the growth of grass (the lack of grass root systems make the soil easier to work when the time comes) and add nutrients to the soil throughout the winter.
|
Once the ground thawed in late winter (here in Pennsylvania, that means mid-March), the leaves were removed and the tilling process began. It’s fair to say that we were dealing with relatively rocky soil. Though the rocks made it frustrating to dig into, flip over, and break apart the dirt with a shovel, there was little focus on removing all but the largest of them. After the tilling was over, I threw a few worms I found onto the plot. While my mother says that they had little if any effect, it is these dozen or so worms that I believe fanned the flames of progress and led our garden to its ultimate success.
We were still getting frost a couple times a week at this point, but it seemed doubtful that we’d experience any more deep freezes, so the beets went into the ground. Our broccoli and lettuce, which we started indoors, were also put into the ground around this time. For the beets, we dug a row that spanned the width of the garden and spread the seeds down the center; this was not a metered or calculated processwe did it all willy-nilly. The broccoli was planted at definite intervals to allow the matured plants plenty of room to grow; the lettuce was popped out of the halved milk cartons and plopped onto a pre-dug, shallow row. While the beets and lettuce were left unprotected, we used 2-liter soda bottles with the bottoms cut off as wind shields for our sprouting broccoli plants.
Low-rent growing
|
The rest of the seedlings we had started indoorsboth tomatoes and the basilwent into the ground in early April; to kill two birds with one stick, each tomato was planted near a fence post which would serve as a stake when the plants got older. A bottomless soda bottle or plastic milk carton was placed over each seedling once it was planted. That same week we made five mounds where we planted the cantaloupe and squash seeds. As we hardly had room in our budget for fancy fertilizer, we covered any bare ground with grass clippings from the yard whenever possible to glean what nutrients we could.
When the plants were established, the pop bottles and milk jugs were removed and the plants were left to grow on their own. Pest control was a matter of keeping a watchful eye: when a harmful type of bug appeared on a plant, it was removed by hand and squished. This technique is a moderately tedious process, but it saves you money and gets results. At the beginning, vigilance is extremely important because it doesn’t take much to eat a tiny plant; once the plants are sufficiently established you can slack off a bit without too much worry. Any congregation of bugs of less-than-biblical proportion is not likely to cause too much harm to a well-established garden. Watering was not particularly needed this year, as central Pennsylvania has had a rather wet summer.
Harvesting
|
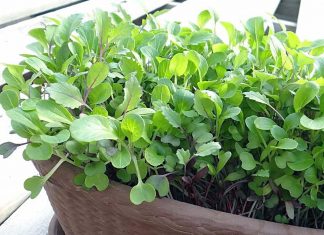
The only seed we didn’t have any luck with in our dollar garden was the basil, which produced a single, stately stalk and nothing more. Everything else has been producing like crazy. The lettuce was the first to mature and has produced many a fine salad. In fact, the lettuce was so successful that we let a few plants go to seed, removed the rest, and planted another whole batch from the left-over seeds in our packet (which is, again, producing like mad).
The broccoli was next to be harvested. Each plant produced one large headpromptly consumedand continues to produce smaller sprigs that appear on the sides of the plant. We’ve had beets aplenty, some of which were used in stir-fry. Mom had always wanted to try one of those crazy red pickled eggs, so she used some of the beets for the project. (I’ve heard that both the eggs and the beets in the pickle brine were excellent, but haven’t tried either myself.) The marigolds, though not harvested, are beautiful and have indeed played a role in keeping the critters away. Our cantaloupes and squash plants are now very large, and we’re expecting big things from them in the near future. The turnips have yet to go in as they are a fall crop.
As for the plant that started it all, the tomatoes, all signs point to a great harvest. We’ve already fried up some of our green tomatoes and we’re expecting a ton of red ones in a couple of weeks. At yesterday’s count, we had well over 100 green tomatoes in our garden (these will be full-sized tomatoes, not cherry or grape varieties)all for less than one dollar.
Setbacks
|
Other than the basil that only produced one plant, the only real problem we’ve had so far was that of sunlight. Proper planning is a huge factor in how successful a garden will be. We planted our garden in the partial shade of a wild plum tree thinking that the plants would still get plenty of sunshine, but since the central Pennsylvania weather has been so cloudy this year (and the plums such trees produce aren’t good for anything at all) I ended up cutting the tree down. This wasn’t a big deal for us, but if Mom lived somewhere else (or that tree was good for more than next year’s firewood), cutting down a tree that’s in the way of a garden would not be an option. A better idea is to find a spot to plant where there won’t be any obstructions in the first place.
All in all, I’d say that our experiment was a huge success. The amount of food we’ve already harvested from this little plot has easily paid for the seed investment and is well on its way to paying for the rabbit fence by the end of the season. What have we learned from this experiment? While Mom would probably claim that this experiment yielded no surprises (other than the poorly producing basil), I have learned without a doubt that with a single dollar I can grow my own vegetables far more cheaply than they could ever be purchased from a grocery store, provided two things: I subject myself to a little labor and I listen to my mother.








If seeds aren’t heirloom, when the plants go to seed the seeds when planted will not produce a replicate of the original plant.
Thanks so much for this article. How did it go letting your lettuce go to seed? Did you do that to have your own seed for sowing? I’d like very much to let my iceberg go to seed to have my own seed. I’ve done it with many different plants, and use my own seed almost always.