| Website Exclusive • April, 2007 |
I have what seems like mountains of great “fertilizer” from my barn full of English Angora rabbits. But between my work as a newspaper editor and caring for the bunnies, chickens, and goats, it was hard finding time to spread all that bunny poop in my garden.
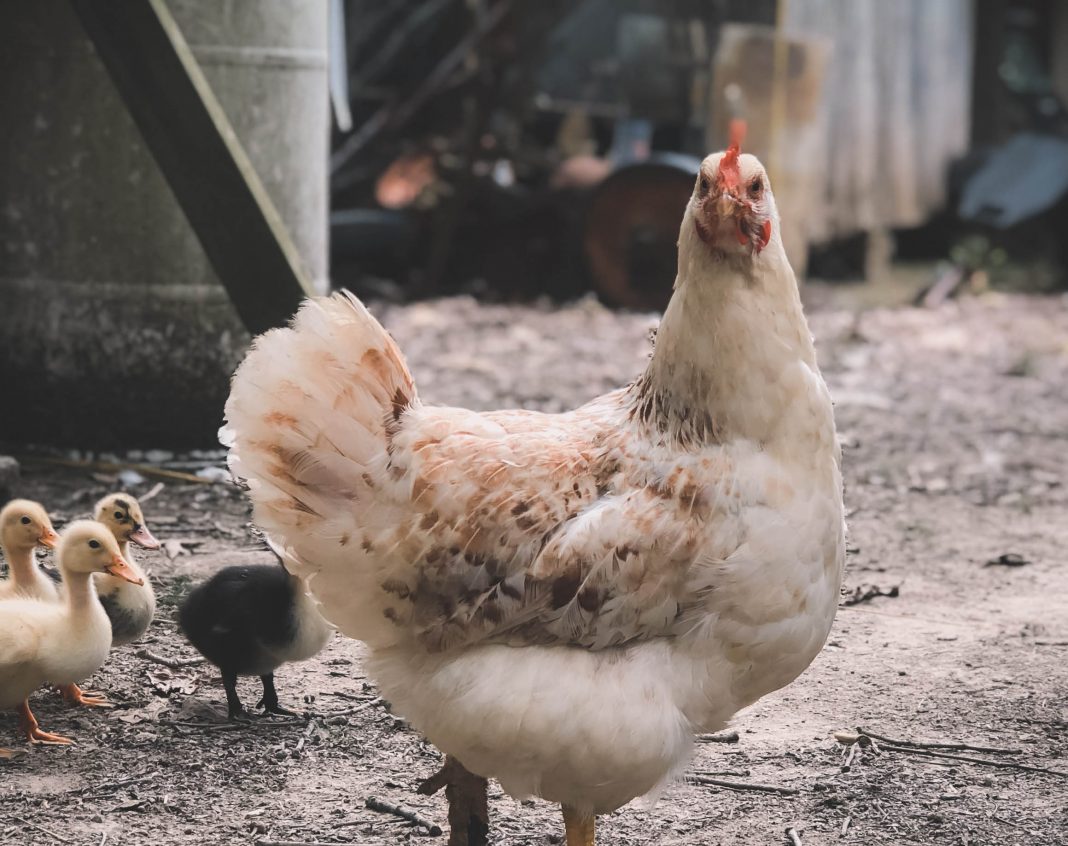
But thanks to Backwoods Home’s John Silveira, now my laying hens (and two very happy roosters!) do all the work for me.
|
I found John’s article in a 1997 issue (it’s in the eighth anthology on page 73 as well) before I bought my first day-old Golden Comets. As I read and reread that article, those original chicks lived and laid their “farm fresh eggs from happy chickens” in an enclosed lean-to attached to the bunny barn.
But, I read how John’s engineer father always searched for better, more efficient ways to do all his chores, so he’d come up with an easier way to take care of his chickens, garden, and even his compost pile.
John notes his dad built his “self fertilizing” chicken coop/garden and used it for many years. He simply built a chicken coop in the middle of two large fenced areas.
The first year, chickens had the run of the east side, and the west side access door was closed. The next spring, the chickens moved to the west side, and his father tilled the soil and planted the family garden on the well-fertilized east side. Each year the chickens and garden alternated sides.
|
We loved that plan, but made a few alterations.
Our chicken house is about 12×12′. Instead of one chicken access door on either side, we divided the house into two, 6′ sections, so there are two access doors on either side.
That way, each year when there are new chicks, they can have the front section of the coop as they’re growing. I make a small temporary rounded fence out of dog wire topped by chicken wire at the front access door, keeping the new chicks separated from the older birds until the newest batch start to lay.
I am gray haired and in my early 50’s, but I hand dug the post holes and cemented in the four corner 4×4 pressure-treated posts that form the corner supports of our chicken house.
Each post was set 18” into the ground with 12′ posts in the front and 8′ in the back.
|
My husband, Roy, cut each post at a 20° angle to slope the posts from front to back.
The frame of the coop is standard 2x4s. We framed the roof first (with the four posts temporarily braced) and then screwed five pieces of 2×14′ tin lengthwise so water would run toward the back.
The walls were then framed using 2x4s, framing in two chicken doors (about 2×4′) on each side.
The bottom half of each side wall was covered with Masonite siding, with the front and back solid Masonite siding except for the front “human access” door. We used a nine-paned windowed exterior door with an attractive brass kickplate for my classy chickens! (The door was free because Roy is a handyman and had taken it down when replacing it on a job.)
The interior wall that separates the front from the back I framed with 2x4s and covered with chicken wire.
|
The door between the two interior spaces is an old wooden screen door (also gleaned through husband’s handyman business), which I covered in chicken wire as well.
The top half of each side wall is also covered in chicken wire that is covered in plastic in the winter. (If I were rebuilding this, I would have extended the side walls about three-fourths with Masonite because too much rain blows inside so I leave up some of the plastic).
The four chicken access doors are made from pieces of exterior plywood we had on hand.
I built the fenced enclosures by myself on each side, and they are roughly 50′ long by 25′ wide, all of four foot 2×4” space “dog” wire.
I used wood posts in the corners, each braced with 2x4s, and steel posts every five or six feet. I can’t use a post hole tool, so I used a four-pound broad-faced hammer and hammered in each steel post while standing on a two-step metal step stool.
|
A walkthrough chain link gate provides access to each side of the fence. Those gates were bought used through our local radio station’s free daily Swap Shop program.
The back fence turns in at the corner of the chicken building, meaning there was space left behind the coop. We left off the hinged window that John’s dad used for access to a compost pile there.
Instead, we later joined additional pieces of tin to the back and made a goat shed as wide as the chicken coop and about an additional 8′ long. I fenced an even bigger goat pasture out back.
During the year, I haul all my bunny poop into whatever area the chickens are in, using an ancient wheelbarrow. (The bunny barn is adjacent so it’s only about 20 to 40′.)
The chickens scratch through and spread it all out and till it into the soil as well as providing their own fertilizer.
|
About a month before planting time, I switch the chickens to the other side and finish tilling it all in. The chickens enjoy the other side until the next late fall when they are turned back into what was that year’s garden to “clean up” all the plants and other garden leftovers.
The chickens are trained to go back into their house each night, and I shut their access doors shortly after sunset. Each is locked tight with a simple hook-and-eye screen door latch.
Their fancy human door is held shut by a simple latch with a large bolt holding it in place.
In the three years in their new home, we haven’t lost a single chicken to predators, although we have many coyotes and other animals in our woods.
The whole chicken complex could be made smaller or larger to suit your needs and your homestead’s size.
This is just one of the many projects we’ve adapted here at Old Field Farm from Backwoods Home, and I’m sure it won’t be our last.


