 |
|
| Issue #42 • November/December, 1996 |
Seed art is an old craft going back to long, long ago. Where the art of turning seeds into pictures first began is obscured by time, and I doubt that anyone of our day and age could solve the mystery.
However, I know where I came into contact with this fascinating craft. I attended a Junto Club meeting one evening when the program centered on crafts, and seed art was one of the crafts. Naturally, being an avid gardener and fascinated by plants, I was a prime candidate to get hooked on seed art.
|
“Basket of Flowers,” 8″ x 9½.” |
“The Prairie,” 14″ by 21½.” |
You’ll find seeds in lots of places
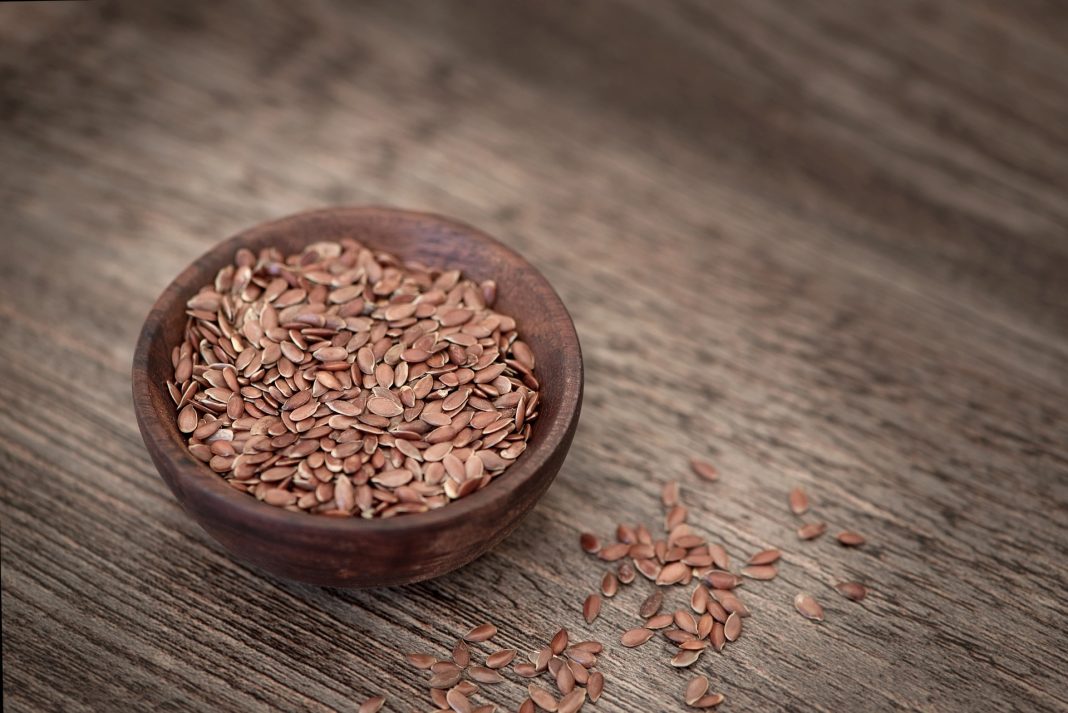
Creating seed pictures is a fun pastime. Anyone can participate, and it can be a year-round hobby. Collect seeds when the weather is good, then create pictures indoors when the weather takes a downturn. Seed hunting can be fun for the whole family. Select a nice day, see who can find the most varieties of seeds, and highlight the outing with a picnic. Watch how quickly young minds are alerted to different kinds of seeds.
Don’t overlook the kitchen spice rack, as seeds are there, too. Saving seeds from your own plants is another way to start your collection. Involvement with seed pictures brings out artistic ability while teaching us about the plant world. And you can make unique and inexpensive gifts.
Remember to spread fresh seeds out on a tray indoors where they can dry thoroughly before being put in containers. Newly gathered seeds may mold if put away too soon.
Seed pictures are not confined to small frames. An example of this is the gigantic display on the outside of the Corn Palace in Mitchell, South Dakota. That large municipal auditorium is redecorated each year with huge amounts of grains and grasses depicting cowboys, buffaloes, Indians, etc. The theme varies annually. Those murals take a lot of effort and talent, and the end result is not only pleasure for human spectators . . . the bird population is most appreciative, too.
I have seen a few seed pictures of lesser dimensions in museums, but the artists’ names are unavailable. I wonder who created the lovely pictures and how they came by the art form.
Several years ago, when I was one of the judges of a craft show housed in a barn, I discovered someone’s masterpiece of corn, sunflower seeds, and lima beans had been the target of hungry rats. Not much left to judge there.
I have learned from experience that destruction can also arrive in very small forms. Tiny seed-hungry bugs can create havoc. It’s a good idea to spray seed pictures lightly with a non-oily insecticide every few months. Bugs love to discover a cache of unprotected seeds, so don’t forget to protect your supply of seeds, too.
|
“Owls and Mushrooms,” 5″ x 91/2″ |
Small flowers: Pepper with mustard centers. |
Materials
Egg cartons are useful storage containers. Names of seeds may be written on the lids, and the cartons stacked to save space. This is better than using odd-shaped bottles and jars. When my collection reached extensive proportions, I bought an organizera small metal cabinet with lots of drawers. Horizontal dividers in the drawers make it possible to keep many varieties of seeds separated.
Burlap is an excellent fabric to use as background for seed art. It is available in several colors and is usually reasonable in price. A yard of burlap will make a number of pictures, depending on size. Buying half-yard pieces in several colors will provide variety. Not all colors will compliment all seeds. Light-colored seeds such as cucumber and pepper will not show up as well on a beige background as they would on a darker color. Mimosa and apple seeds won’t stand out on brown. Light green is a good neutral color.
A lightweight board or a discarded piece of Masonitesomething that won’t bendis recommended for a stiff backing. Cardboard is undesirable, as it will soon buckle. If you have a friend who has a woodworking shop, you’re in luck, as there are usually scrap pieces of wood lying around that are free for the asking.
|
Rose: Pepper with mustard center. (Begin on outer edge and work toward center.) |
Materials: Seeds, burlap on stiff backing, pastel pencil or chalk for outlining forms, glue, toothpicks (touch glue and pick up seeds), and imagination. |
Here’s how it’s done
I suggest keeping your first picture simple in order to learn the basics. A 3×5″ size picture is best for an initial attempt. Be sure that board is clean of all dust, and cut the burlap so that it is slightly larger than the board. Coat the board well with Elmer’s Glue-All and place the burlap backing on it, smoothing out any wrinkles and keeping the fibers straight. Let it dry completely, then trim away the overlapping burlap along the edges of the board.
A vase of flowers is an easy subject. Use a piece of chalk or a pastel pencil to lightly outline the vase, keeping it centered and in proportion with your background. (Some folks like to draw a rough sketch on paper as a visual aid.) Seeds suitable for the vase itself include rice, mimosa, cantaloupe, and many others.
Apply glue along the top edge of the vase. Touch the end of a toothpick to the glue and use the moistened tip to pick up a seed. Place the seed in the middle of the top line and work toward the left and right until the top line is completed. Repeat for the next line and so on until the vase area is covered, using glue as needed.
Select the highest center point for the flowers and taper downward toward the sides. This is the easiest way to keep the design balanced in appearance. There are lots of “flowers” to choose for your vase. Cucumber seeds make nice daisies. Four o’clock seeds give a cone effect to centers, such as those seen in black-eyed Susans. You can use pepper seeds to make perfect full-blown roses by laying an outer circle and lapping each inward circle until they meet in the middle. Finish with a mustard seed for the center. Four pepper seeds with tips touching in the middle and a mustard seed for the center will make a four-petalled flower such as a bluet. These are good fillers for blank spaces. Another filler that gives an airy touch is fern made from a double row of dill seeds.
A dipper gourd seed resembles the shape of an owl sitting on a tree limb. To the wide end of the seed add two pepper seeds and a couple of larkspur seeds placed vertically on the pepper seeds, and you have a wide-eyed owl. Make a tree using rice grains and place a few owls on the limbs. Put some mushrooms on the ground simply by using a cantaloupe seed in a vertical position with another on top horizontally. Seeds are versatile. The same dipper gourd seeds may be petals for a large flower, with an inverted acorn cup as the center. Cantaloupe seeds make asters. You are limited only by your imagination.
|
Owl: Dipper gourd with pepper and larkspur eyes |
Small flowers: Grape with millet centers |
Frame it
I consider it a downright waste of time and talent if I don’t show off a seed picture masterpiece by giving it a proper frame. I don’t use a fancy gilded design, as that type of frame detracts from the picture. A simple hardwood frame is best. I always put my initials in the bottom right corner of my pictures. That’s in case they get past the rats and bugs and end up in museums.
When special gift-giving days roll around, have some seed pictures handy. You’ll be surprised how much people appreciate the extraordinary. You might consider entering some seed pictures in a fair or hobby show. Whatever you do, by all means display your creations in prominent spots in your home. They are great conversation pieces.






Hooray! Finally, there’s some good ol’ information on seed art. I’ve been saving seed for some time in order to jump in … and now I have some basics to work with. Thank you, Ms. Yeager, for the original article, and thank you, Backwoods Home, for highlighting the link in a recent newsletter.
CORN PALACE – HOORAY!!